http://networklessons.com/wireless/peap-and-eap-tls-on-server-2008-and-cisco-wlc/#Configure-Wireless-Client
PEAP and EAP-TLS on Server 2008 and Cisco WLC
Content Table
Introduction
To make wireless networks really secure you should use a RADIUS server to authenticate your users instead of using a pre-shared key. The RADIUS server will handle the authentication requests and uses EAP (Extensible Authentication Protocol) to communicate with users. There are many EAP types and the most popular ones are:
- PEAP (Protected EAP)
- EAP-TLS
PEAP is normally used to authenticate users by using a username and password. The RADIUS server will show a certificate to the users so that they can verify that they are talking to the correct RADIUS server. EAP-TLS is the most secure form of wireless authentication because it replaces the client username/password with a client certificate.
This tutorial will walk you through the installation and configuration of Windows Server 2008 using NPS (Network Policy Server) as the RADIUS server for a Cisco wireless LAN controller. We will configure the server so that it supports PEAP using MS-CHAPv2 for password authentication but we’ll also look at EAP-TLS which can be used to authenticate clients using certificates that we will generate on the server. In this tutorial we will configure the following components on the server:
- Active Directory
- DNS
- Certificate Services
- IIS
- NPS
Active Directory (AD) is where we store all the user accounts, it’s the central database that we use for authentication. Whenever you install an AD you also require a DNS server. Certificate services will be used to install the server as a root CA so that we can generate a computer certificate that will be presented to wireless clients and to generate the client certificates for EAP-TLS.
IIS is the web server and we will use it so that EAP-TLS clients can easily request a certificate with their web browser for their wireless connection. Last but not least, NPS is the RADIUS server and that’s where we will configure some wireless policies.
I realized that many network engineers are comfortable configuring switches and wireless equipment but might be new to Windows Server 2008. This “how to” was written so anyone without “Windows Server” experience should be able to get the job done.
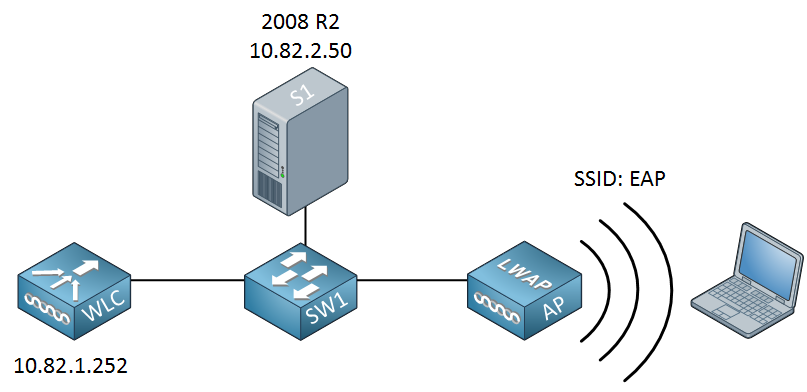
This is the topology that I will use for this example:
A fairly simple topology with a single switch that connects the server, WLC and access point together. I’m using a Cisco wireless LAN controller to demonstrate this but the configuration will be the same for any other wireless LAN controller or access point. The configuration for Windows Server 2008 will be the same. There’s plenty of work so let’s get started!
>Basic Network Configuration
Before we start with the installation of Active Directory we’ll fix some basics like setting the correct computer name and IP address.
Computer Name
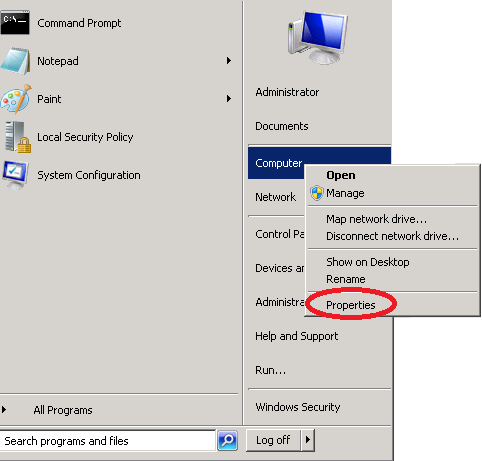
Click Start > Computer (right mouse click) > Properties.
Click on Change Settings.
Click the Change button.
Here’s where you will enter the computer name. I’ll use “AD” (Active Directory). You don’t have to change the workgroup name as we’ll turn this computer into a domain controller in a minute. Make your changes and click on OK.
Once you change the computer name you will have to reboot before the changes will occur. Once your server is rebooted you’ll have to change the IP address.
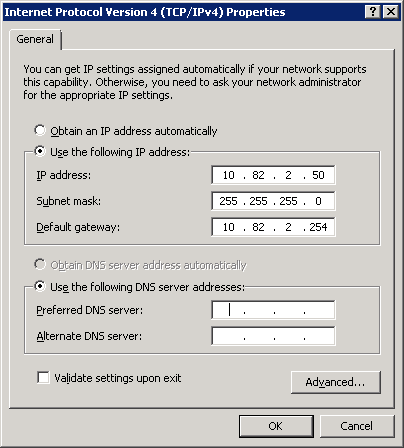
IP address
Make sure you don’t configure any DNS servers as this server will become a DNS server. You don’t have to configure a default gateway but if you have a router that leads to the outside world you can enter it here:
Once you have configured your computer name and IP address we can continue with the installation of Active Directory.
Installing Active Directory
Active Directory is where we store all the usernames in a central database. To install it we need to add a new role to the server.
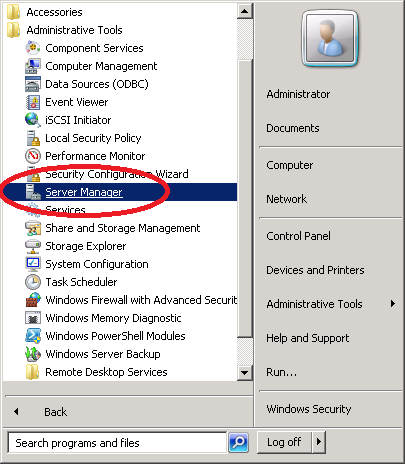
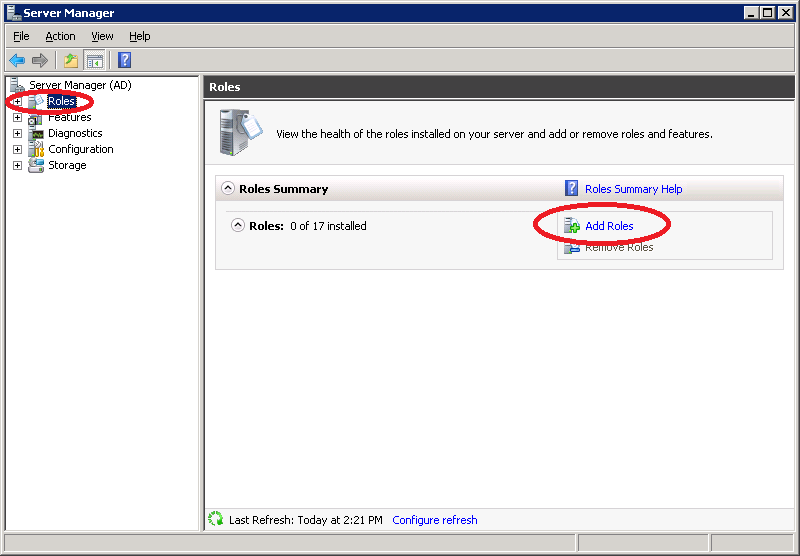
Click on Start > Administrative Tools > Server Manager.
Click on Roles > Add Roles.
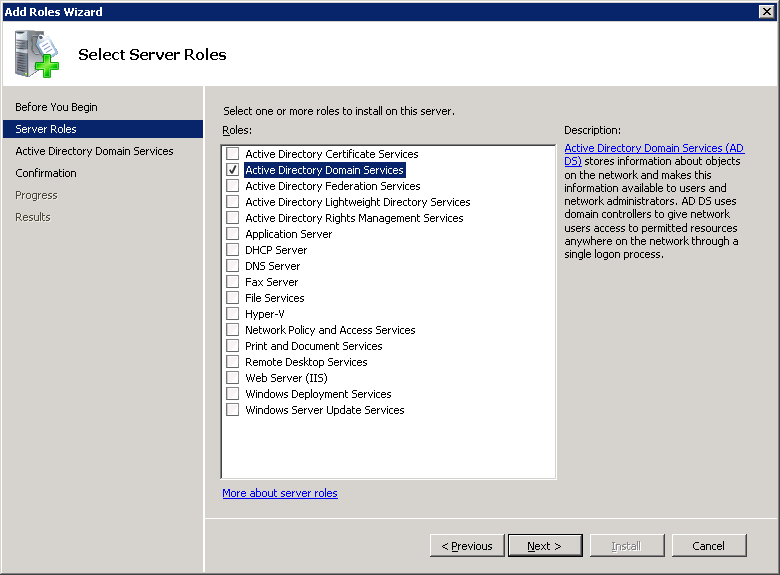
You will be presented with the following wizard. Click on Next.
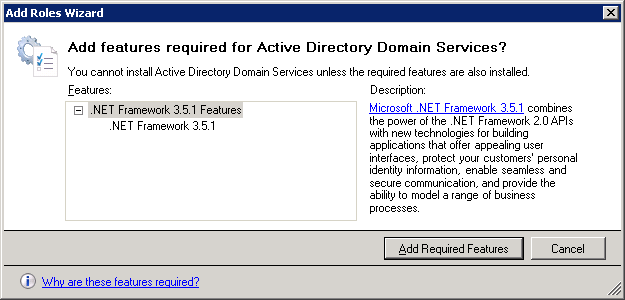
Select Active Directory Domain Services and click on Next.
You will get a notification about adding the .NET Framework feature. Click on Add Requires Features.
Click Next to continue.
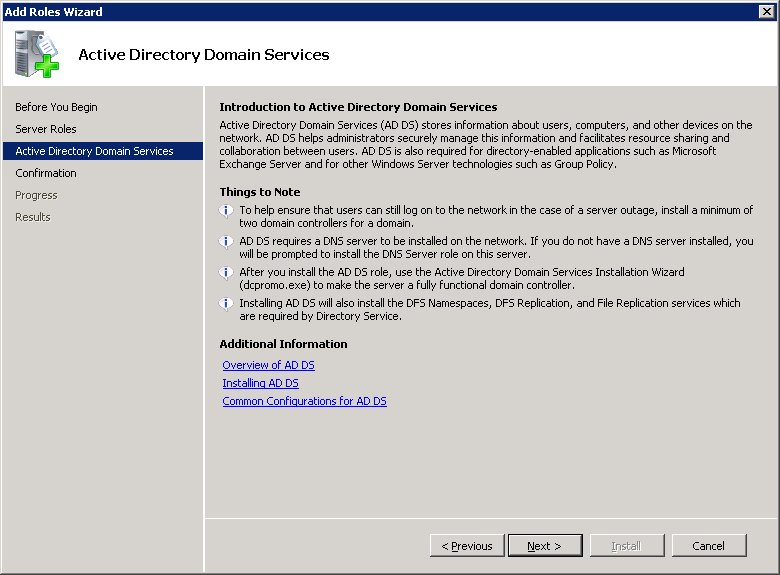
You will see an introduction about Active Directory Domain Services. Click Next to continue.
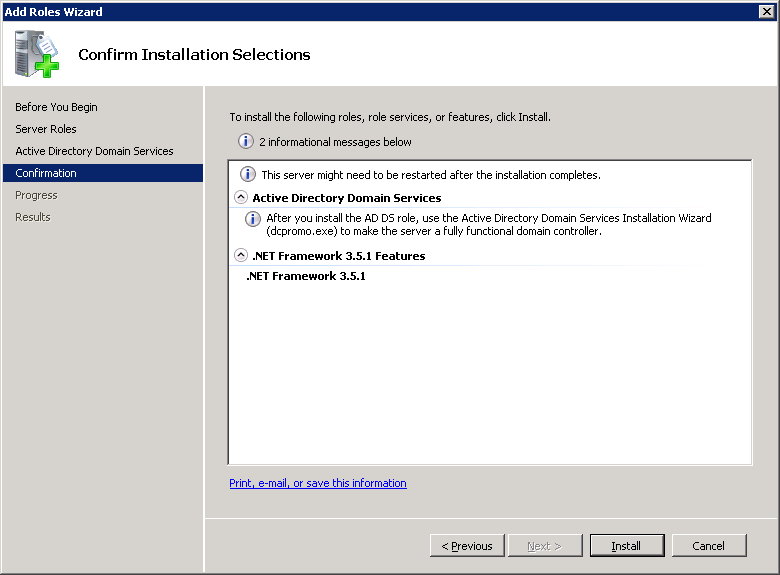
Click Next to confirm the installation options.
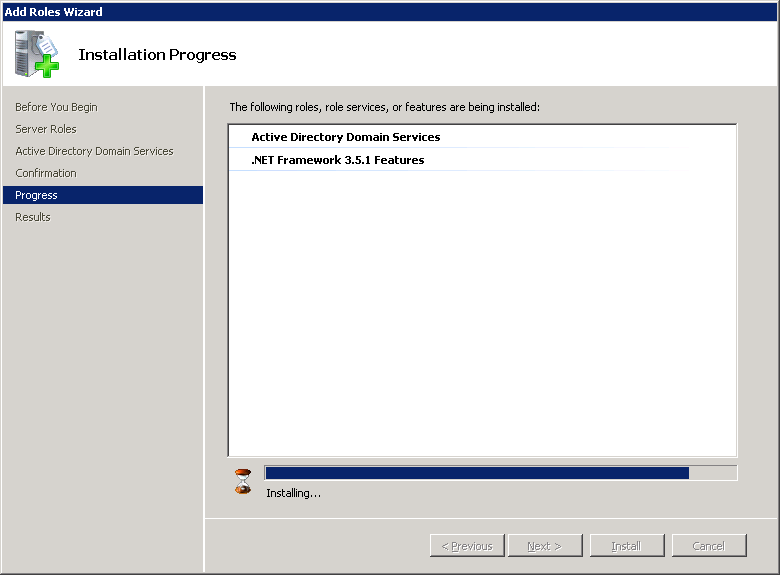
You will see the following screen that indicates the installation progress:
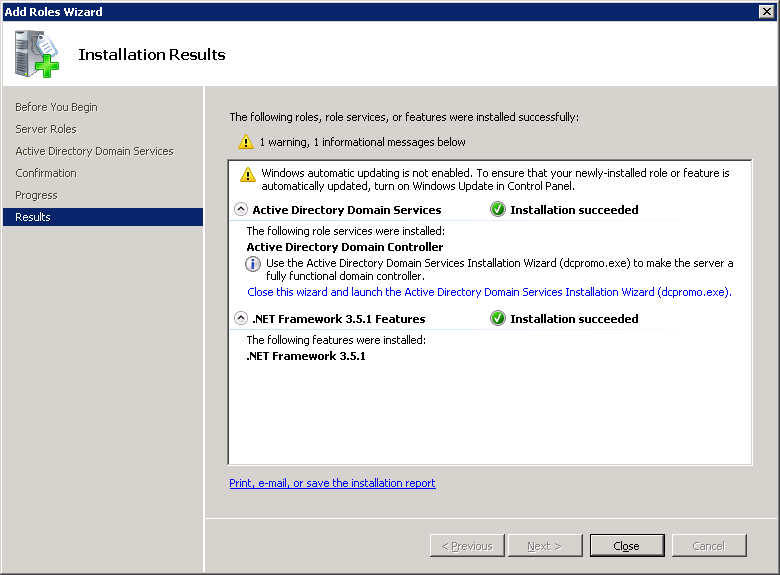
Once the installation is done you might receive a warning about Windows automatic updating. If this is a production server, make a mental note to enable windows updates in the future. Click on Close to continue.
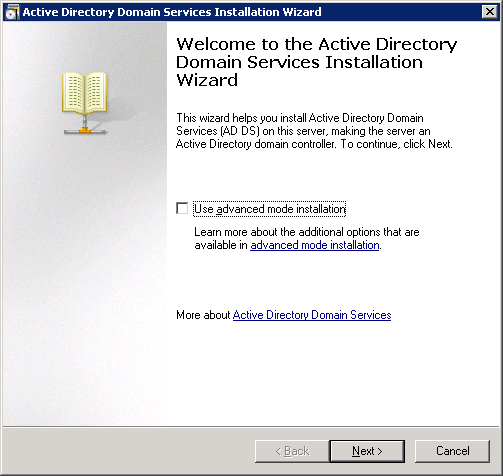
Once Active Directory Domain Services is installed we can create a new domain. Click on the start button and type “dcpromo” (without the quotes):
You will see a welcome screen, leave “use advanced mode installation” unchecked and click on Next.
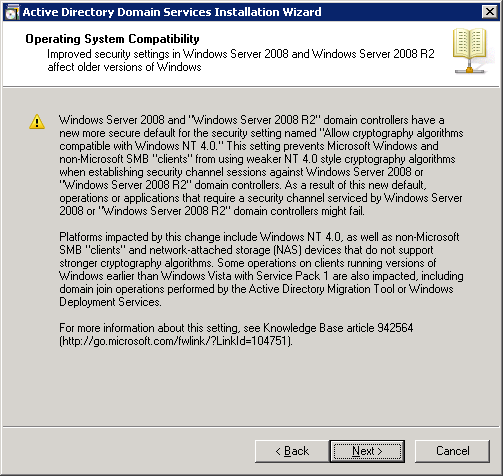
You will be presented with some information about operating system compatibility. Click Next to continue.
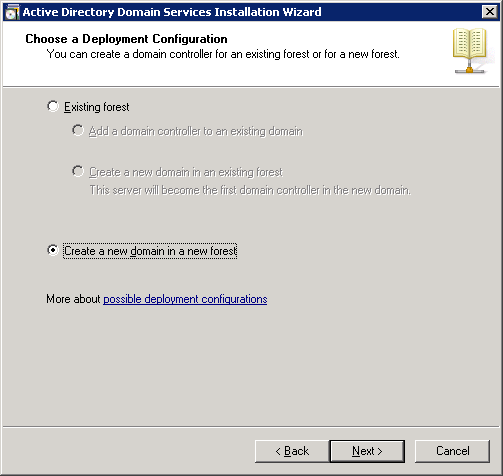
We will create a new forest with a new domain. Select the second option and click on Next.
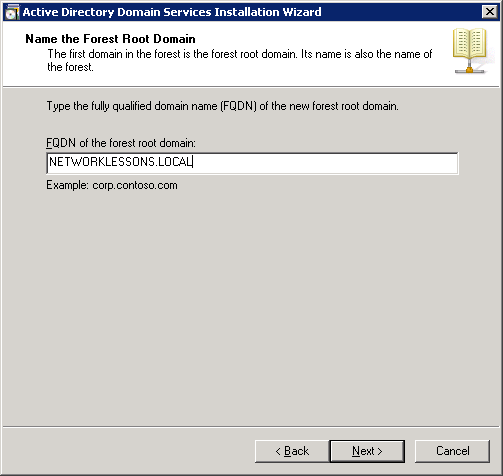
The FQDN (Fully Qualified Domain Name) of my forest root domain will be “NETWORKLESSONS.LOCAL”. Click Next to continue.
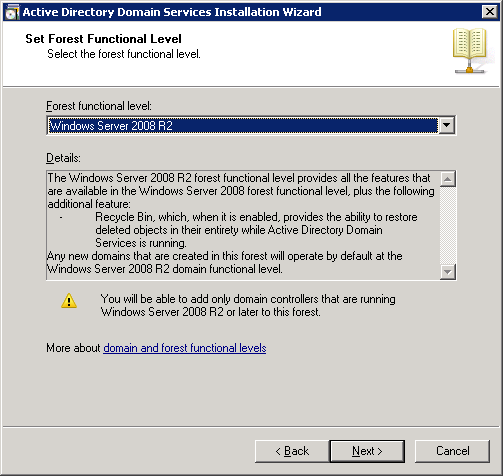
We will have to select the Forest Functional Level. If you only use Server 2008 R2 or later versions then you can select the “Windows Server 2008 R2″ functional level. If you plan to use older versions of Windows Server then you should use a “lower” functional level. I don’t plan to add any other servers to this network so I’ll select “Windows Server 2008 R2″ and click on Next.
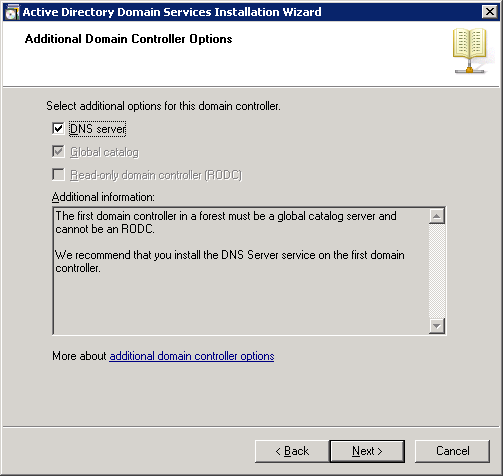
Select “DNS server” and click on Next.
You will receive a notification that the server is unable to create a DNS entry. This is OK because the DNS server isn’t installed yet. Click on Yes to continue.
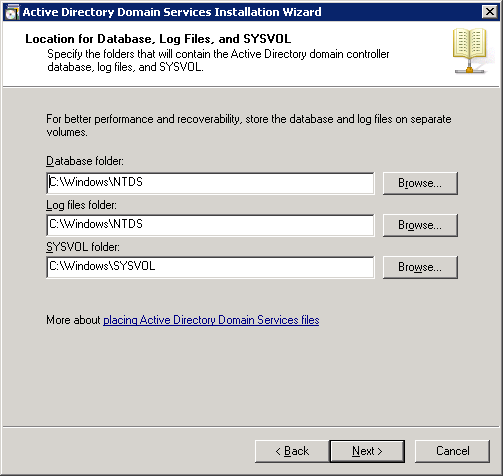
The default folder structure is fine, click on Next to continue.
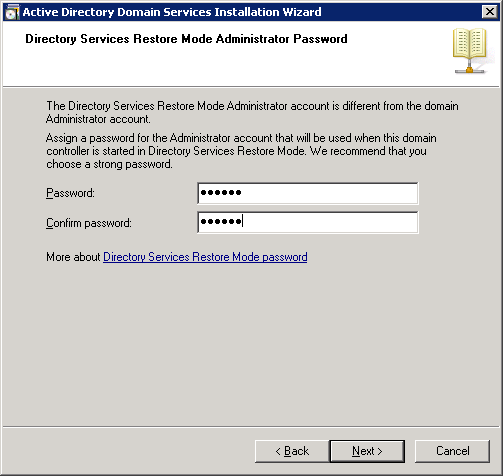
A separate password is used in case you need to restore your Active Directory. I recommend to use a different password than the administrator password for this. Click on Next to continue.
You will receive a summary, click on Next to continue.
It will take a couple of minutes to install everything, you will see this progress screen:
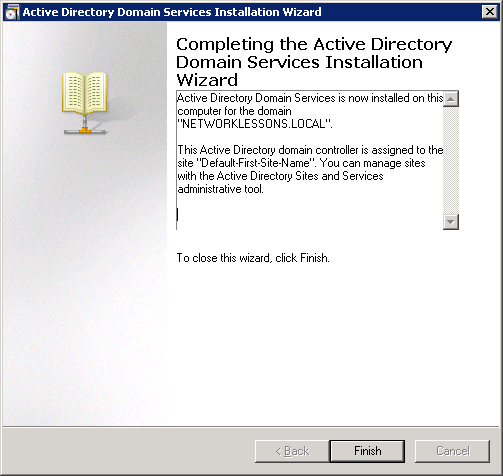
Click on Finish to continue.
The server will ask you to restart, Click on Restart Now.
Once your server is restarted you will have a working Active Directory and DNS server. The next step will be to install the certificate server.
Installing Certificate Server
When PEAP wireless clients try to connect to the network, the RADIUS server will present a computer certificate to the user to authenticate itself. It’s up to the client to accept only valid certificates and this will help to prevent spoofing attacks where an attacker might run a fake RADIUS server. EAP-TLS will also use require the computer certificate from the RADIUS server but we’ll also require a client certificate for each user that wants to connect to the wireless network.
In order to do this we will configure our server to become a root CA (Certificate Authority). This allows us to generate a computer certificate and also to generate client certificates.
Click on Start > Administrative Tools > Server Manager.
Click on Roles > Add Roles.
Click on Next to continue.
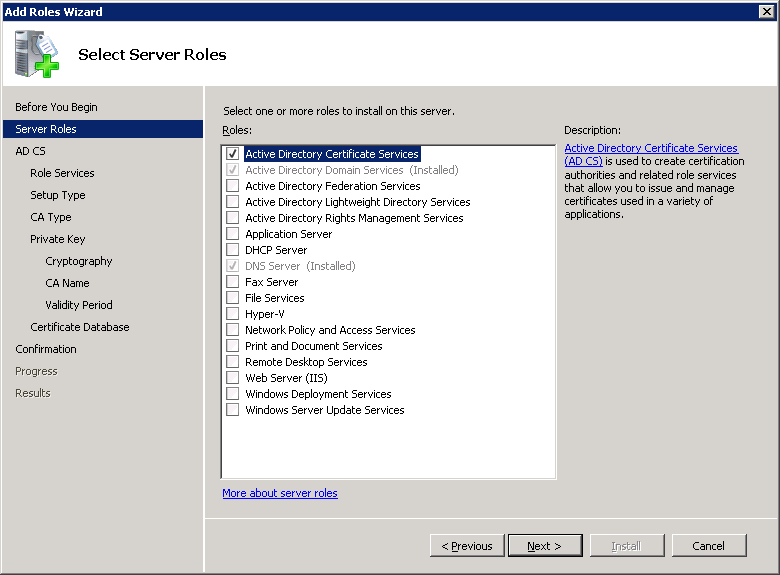
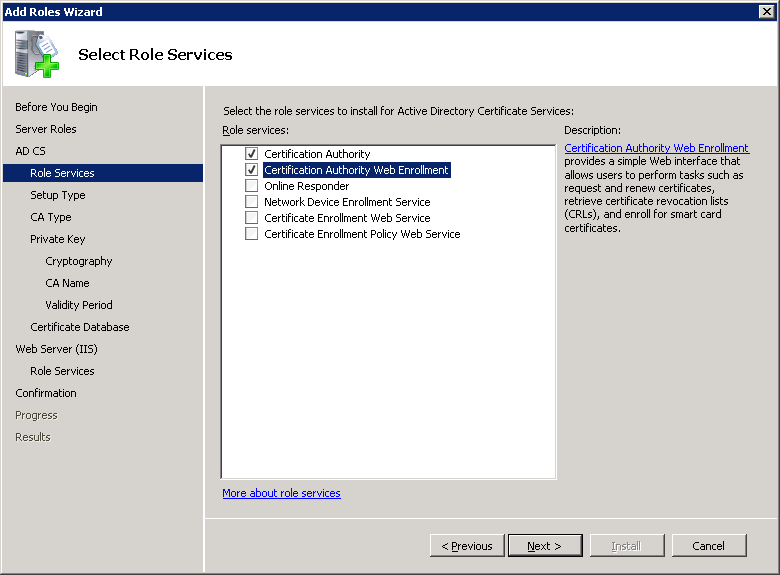
Select Active Directory Certificate Services and click on Next.
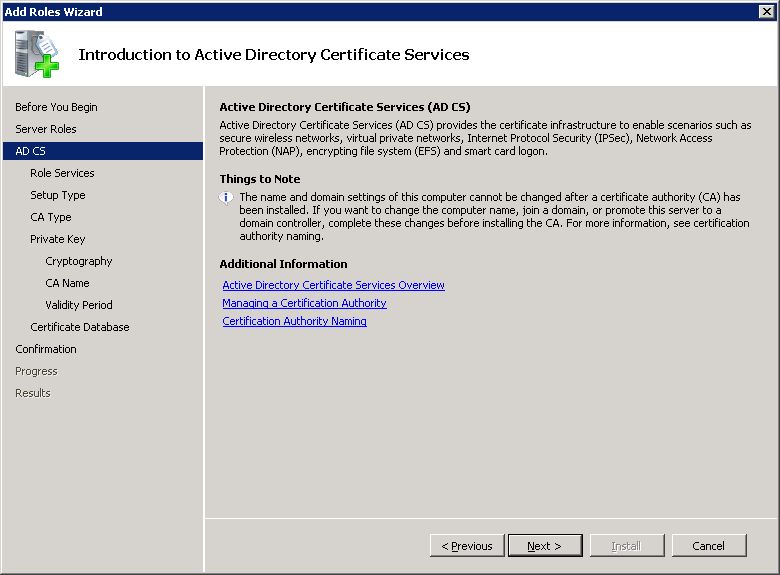
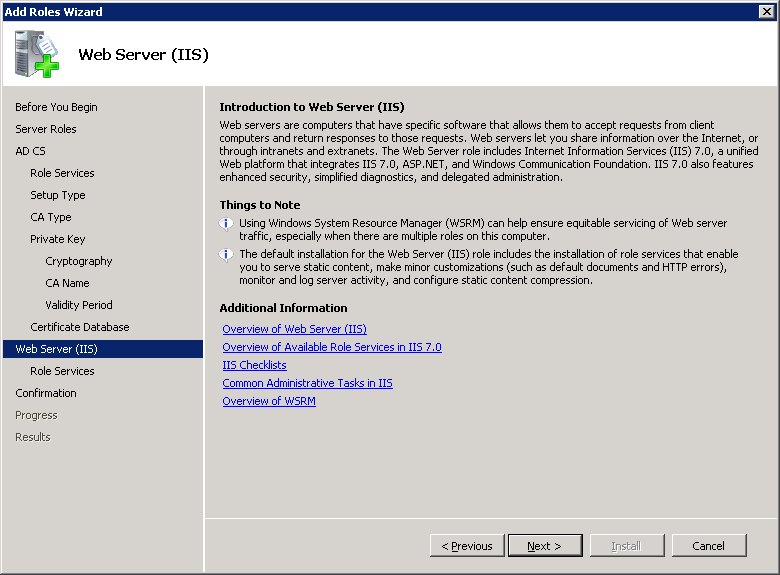
You will see an introduction to Active Directory Certificate Services. Click on Next to continue.
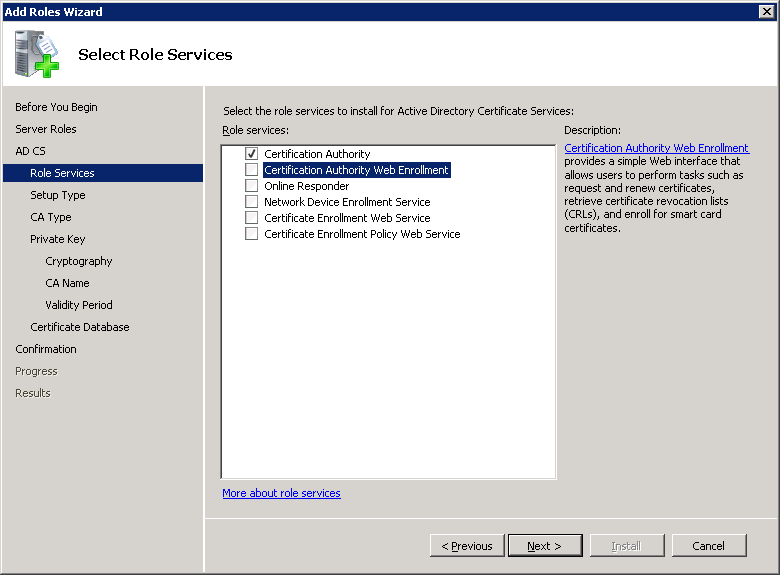
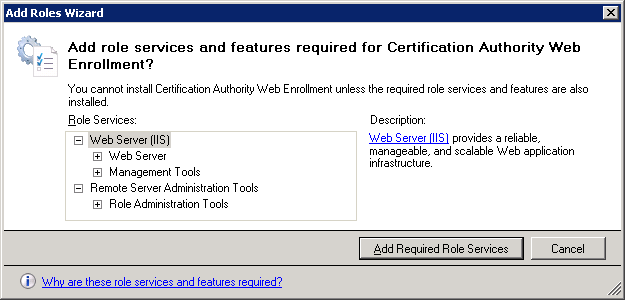
Select Certification Authority. If you want to use EAP-TLS then you should also select Certification Authority Web Enrollment. This will allow us to request client certificates through the web browser which is very convenient.
Once you select Certification Authority Web Enrollment you will receive a notification that we need to install IIS (Web Server). Click on Add Required Role Services to continue.
Make sure both services are selected and click on Next to continue.
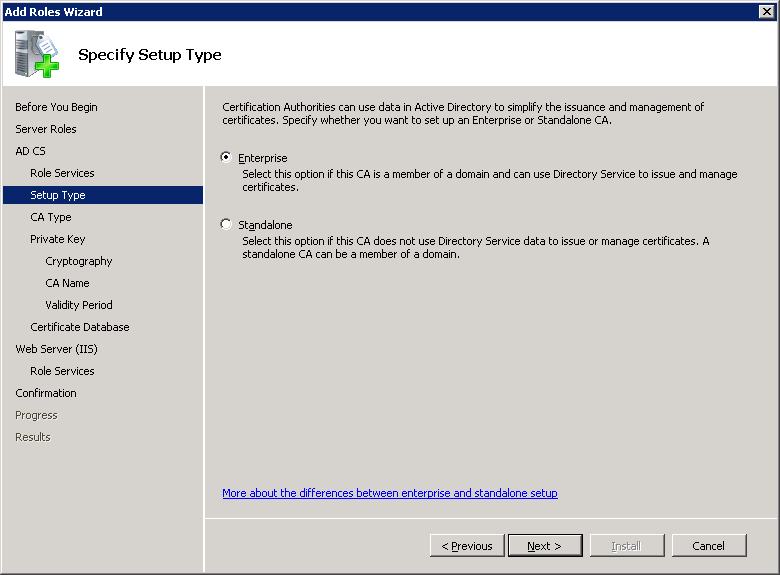
The certificate server can be part of the domain and use active directory or run as stand-alone. We want it to use the active directory so select Enterprise and click on Next.
You can specify if you want this server to be a new Root CA or if you want it to be a Subordinate CA. Select Root CA and click on Next to continue.
Select Create a new private key and click on Next.
The default cryptography parameters are fine, click Next to continue.
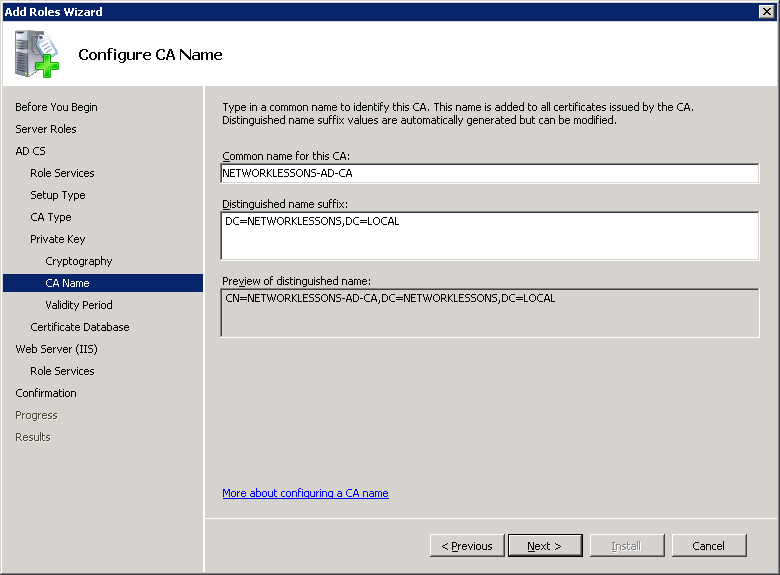
The default CA name is also fine, it will use the computer name and domain name for this. Click on Next to continue.
The default validity period for the root CA certificate is 5 years. Click Next to continue.
Click Next to continue.
If you selected the web enrollment option you will see the installation wizard for IIS. You can read the introduction if you like or click on Next to continue.
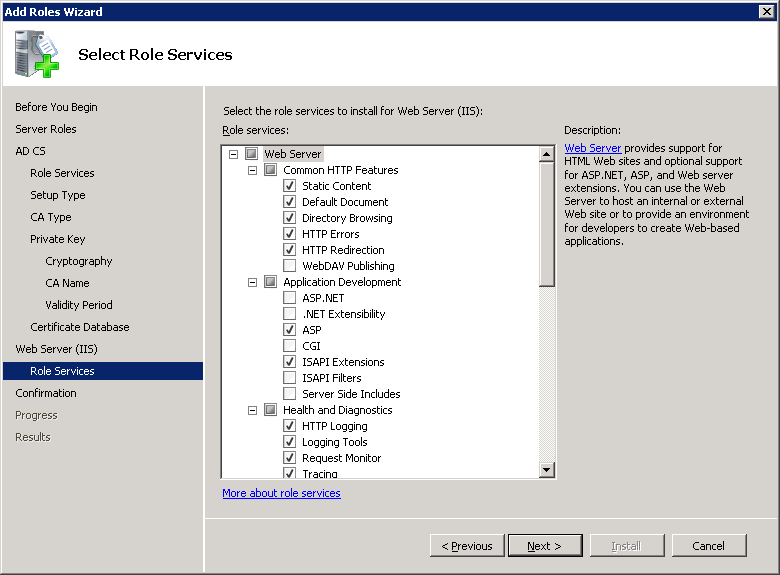
The default role services are fine, click Next to continue.
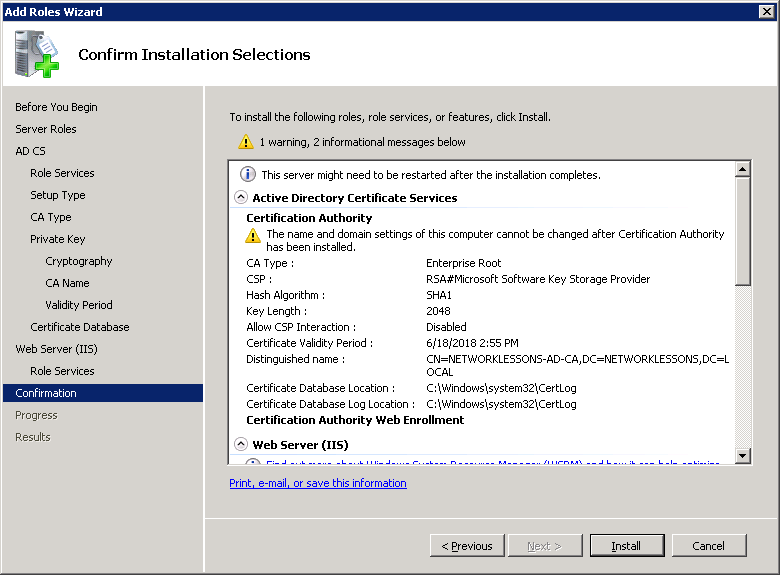
In the confirmation screen you will be warned that you can’t make any changes to the computer name or domain name once you installed the certificate services. Click Install to continue.
You will see the following Installation Progress, grab a quick drink…
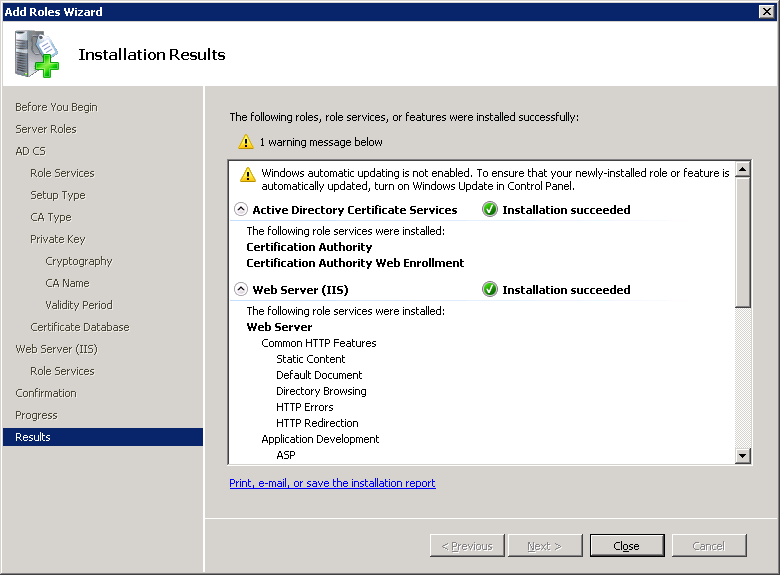
Once the installation is done you will see another notification that you should enable Windows updates. Click on Close.
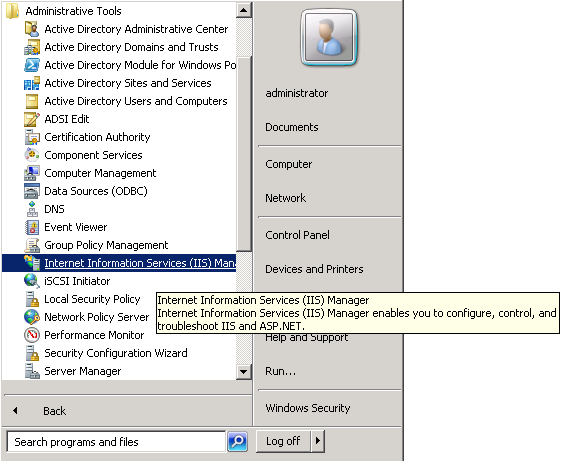
Right now you have a working Certificate Authority and IIS is running to serve web requests. If you plan to use EAP-TLS we need to enable HTTPS support for IIS, by default it is disabled. If you only want to use PEAP then you can skip this step. Click on Start > Administrative Tools > Internet Information Services (IIS) Manager.
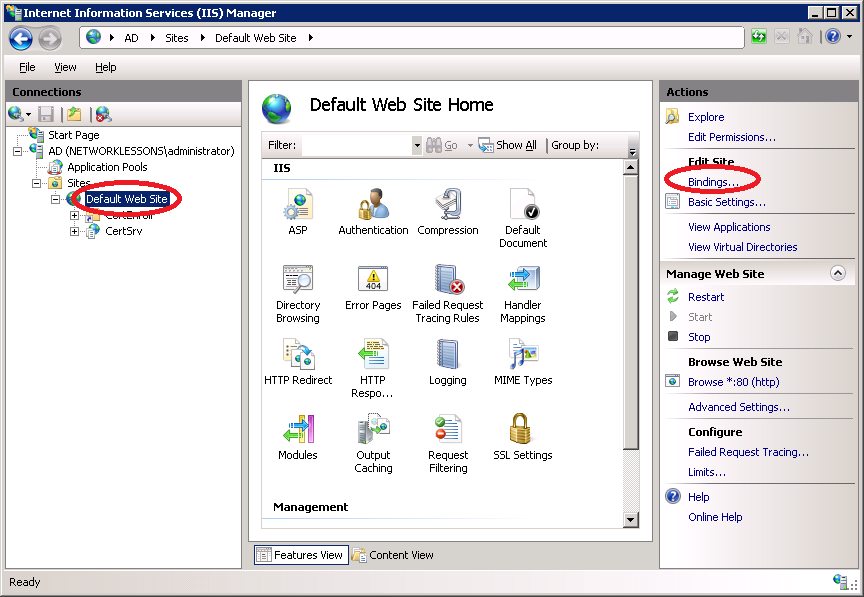
Click on AD (server name) > Sites > Default Web Site and select Bindings on the right side of the screen.
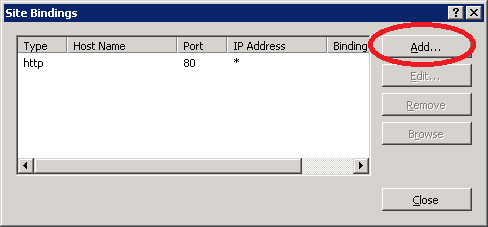
Click on Add.
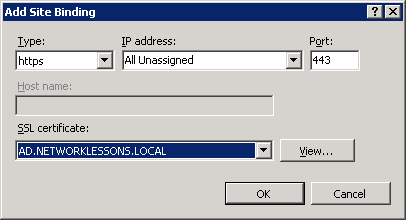
Select https in the Type dropdown box and make sure the SSL certificate has been selected. Click on OK to continue.
This concludes the installation of the certificate server and IIS. We can now move onto the configuration of the RADIUS server.
Installing Network Policy Server
Network Policy Server (NPS) is the RADIUS server that you can find on Windows Server 2008. It has a lot of features and is pretty easy to configure. First we will have to install it.
Click on Start > Administrative Tools > Server Manager.
Click on Roles > Add Roles.
Click Next to continue.
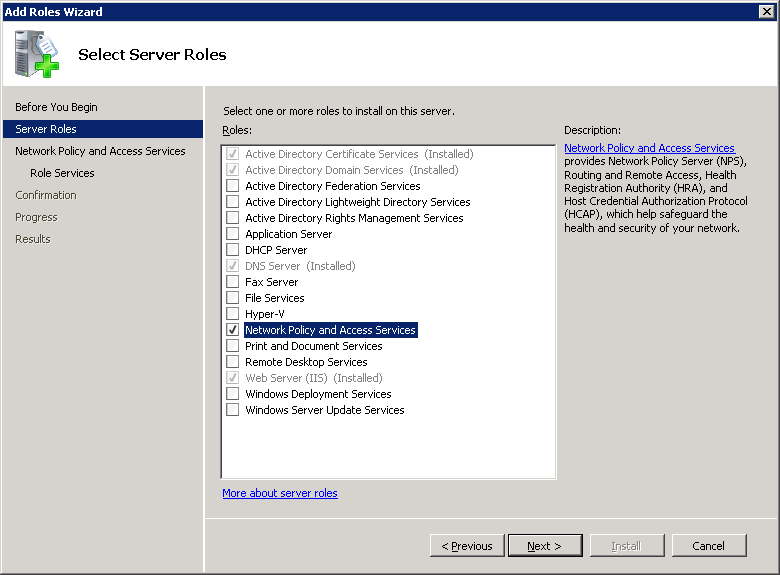
Select Network Policy and Access Services and click Next to continue.
Make sure Network Policy Server is selected and click on Next to continue.
You will see the confirmation screen, click Next to continue.
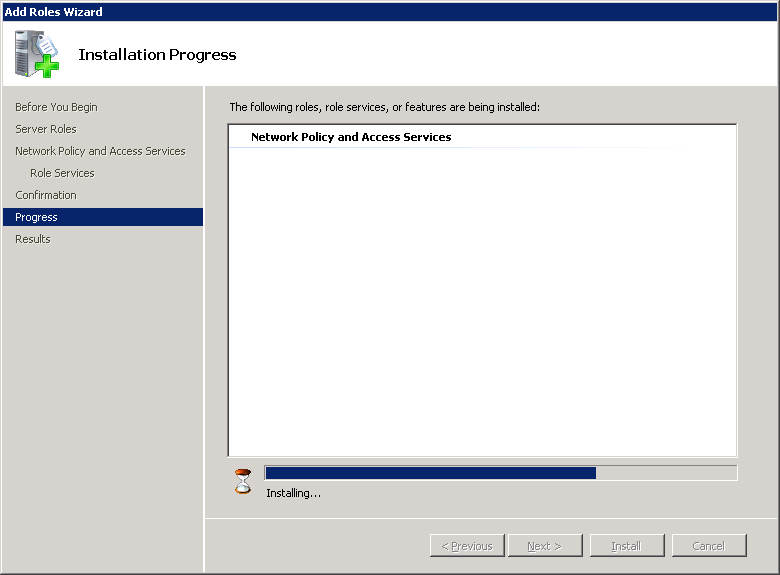
You’ll see the installation progress…
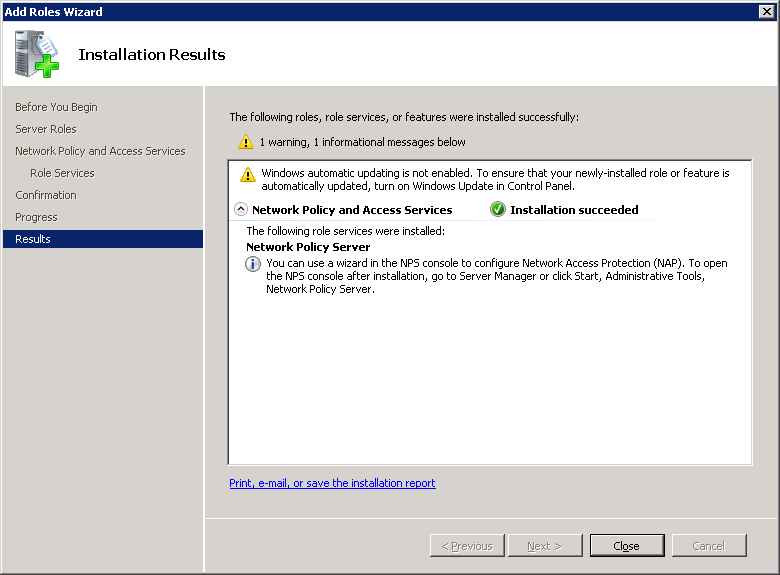
And you’ll see the installation results…
Click on Close.
The Network Policy server is now installed. In the next part we’ll install a computer certificate that we can use to authenticate the RADIUS server to the wireless clients.
Create RADIUS Computer Certificate
With NPS up and running we are ready to create user and computer certificates. The RADIUS server will have to present a certificate to the wireless users so that they can verify if they are talking to the correct RADIUS server. Let me show you how to check if you have a computer certificate and otherwise how to generate one.
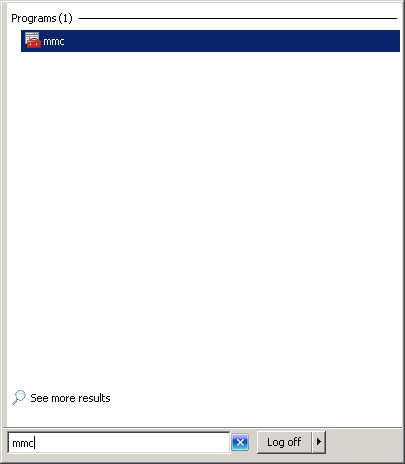
Click on Start and type “mmc” (without the quotes), press enter.
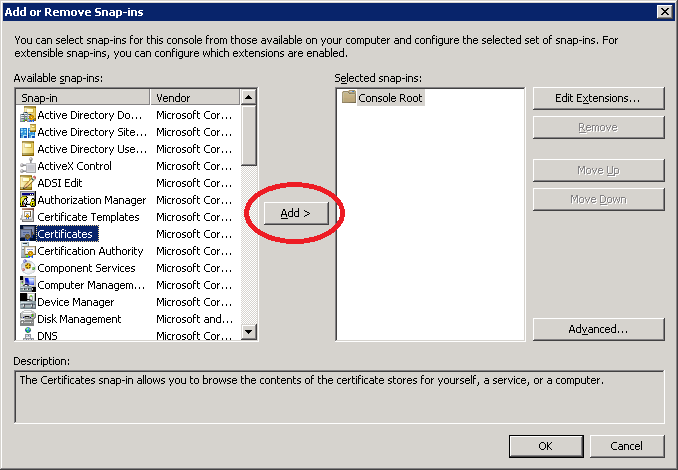
Click on File > Add/Remove Snap-in.
Select Certificates from Available snap-ins and click on Add.
Select Computer account and click on Next.
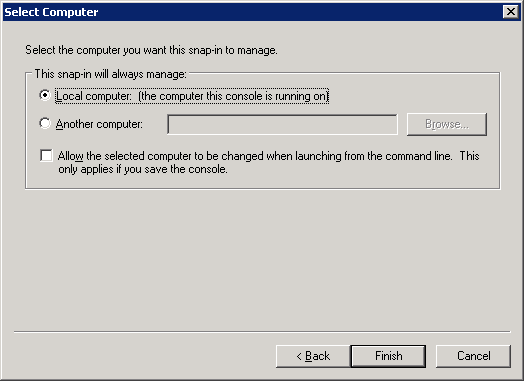
Select Local computer and click on Finish.
At the right side you can see that he computer certificates are now selected. Click on OK.
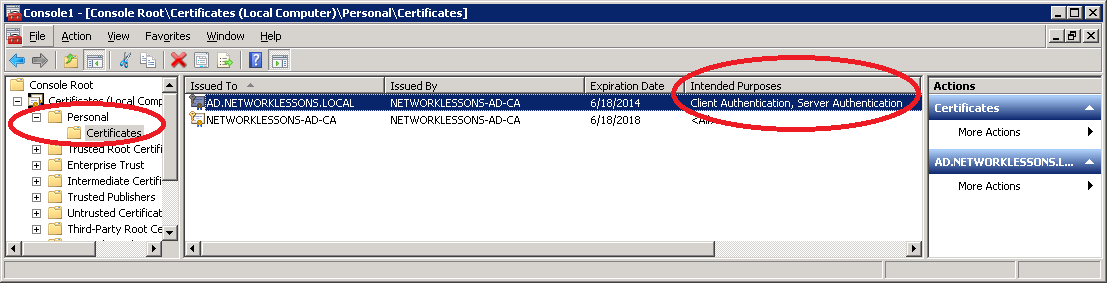
Click on Personal > Certificates to see all computer certificates. If everything went OK you should see a certificate that says “Intended Purposes” with Client and Server Authentication.
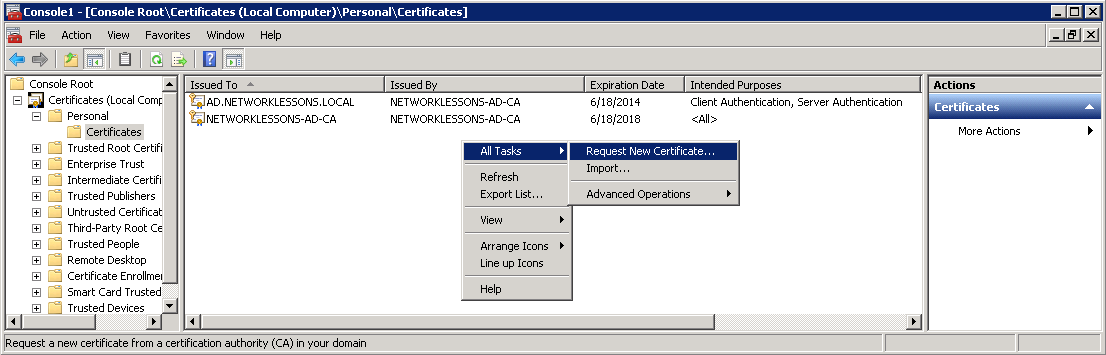
If you installed NPS on a separate Windows Server 2008 installation, you won’t see a computer certificate here and you’ll have to generate one as well.
If there’s no certificate, we’ll create a new one. Right mouse click on the white space and select Request New Certificate.
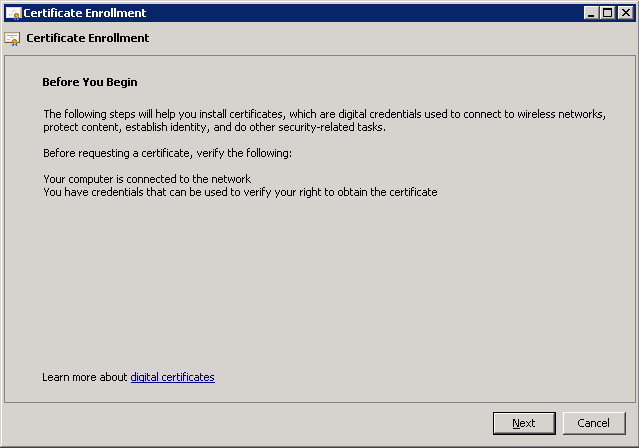
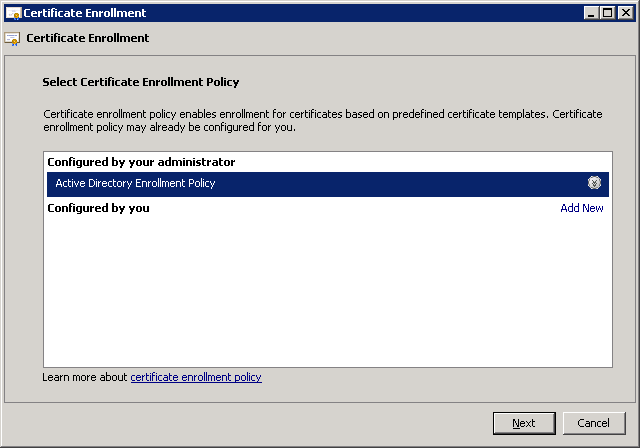
You will see the following screen, click Next to continue.
Select Active Directory Enrollment Policy and click Next to continue.
Click on Finish.
You’ll be back at the MMC and you’ll see the installed certificate. Make sure you see that it can be used for client and server authentication before you continue.
Your server now has a certificate that can be presented to wireless clients when they request the identify of the RADIUS server. Now we can configure a wireless policy…
Configure Network Policy for EAP Authentication
Network Policy Server is running but we’ll still have to create a policy for our wireless users.
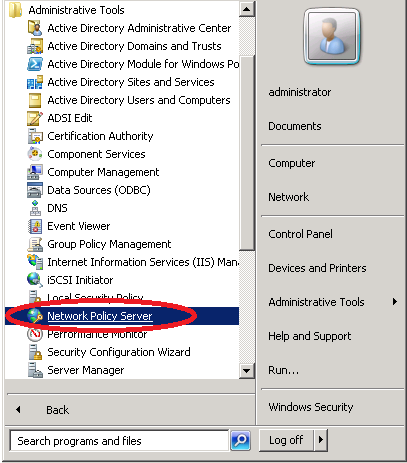
Click on Start > Administrative Tools > Network Policy Server.
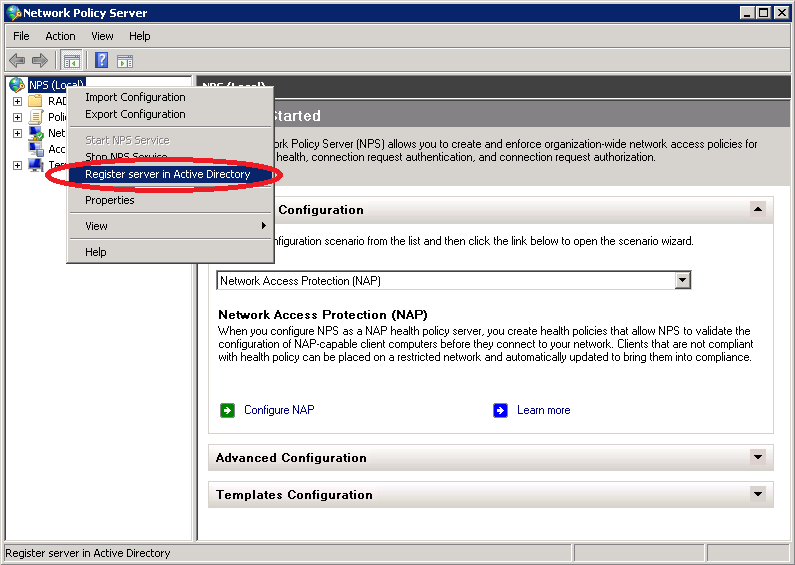
Do a right mouse click on NPS > Register server in Active Directory.
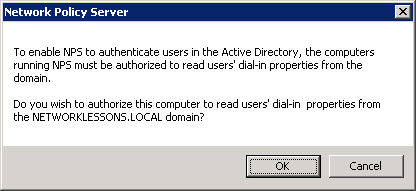
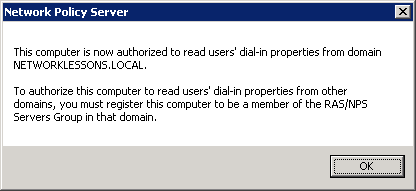
You’ll be presented the following screen, click OK to continue.
And a notification that is has been registered, click OK to continue.
Add Cisco WLC as RADIUS Client
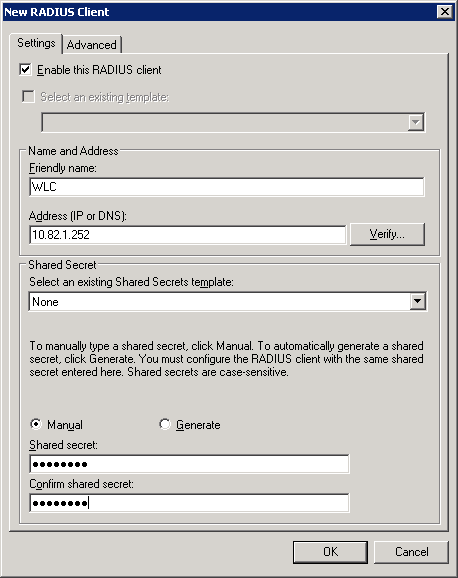
Now we can add a RADIUS client. Don’t confuse the RADIUS client with the wireless clients. We are talking about the wireless LAN controller here. Select NPS > RADIUS Clients and Servers > RADIUS Clients (right mouse click) and click on New.
Enter a friendly name (can be everything but I suggest to use the hostname of the WLC) and the IP address of the WLC. Enter a password in the Shared secret field. We’ll need this once we configure the wireless LAN controller.
Click on OK to continue.
You’ll be back at the main screen and you will see that the RADIUS client has been added.
Create Wireless Policy
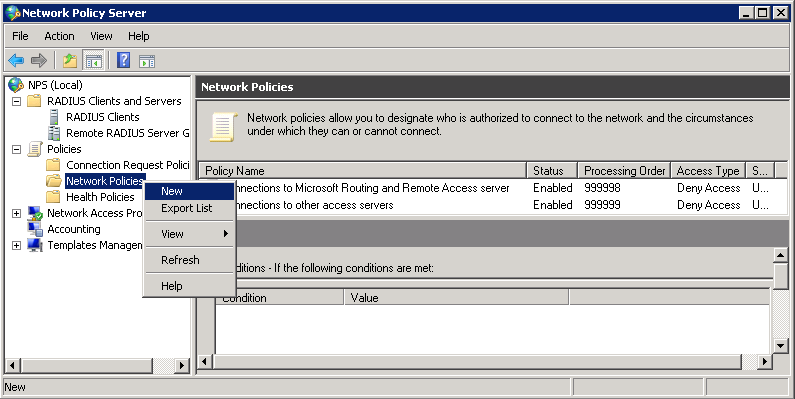
Now we can create a network policy. Click on Policies > Network Policies (right mouse click) and click on New.
Give the policy a name, I’ll call it “Wireless”. Leave the type of network access server as Unspecified.
Click Next to continue.
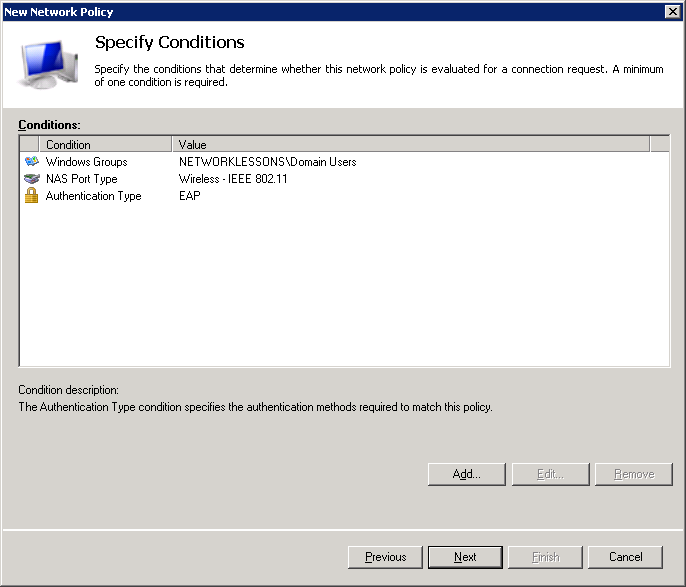
Now we can specify some conditions. I’ve set the following conditions:
- Windows Groups: NETWORKLESSONS\Domain Users. By default all users in our Active Directory our member of the domain users group. If you only want certain users to be able to connect to the wireless network then it’s better to create a new domain group for this.
- NAS Port Type: Wireless – IEEE 802.11. This ensures that the network policy only applies to wireless users.
- Authentication Type: EAP
Click on Next to continue.
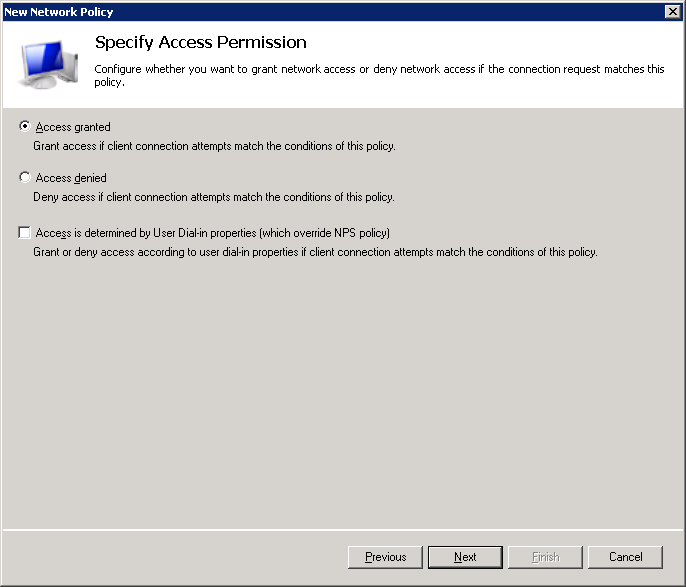
Select Access granted and click on Next.
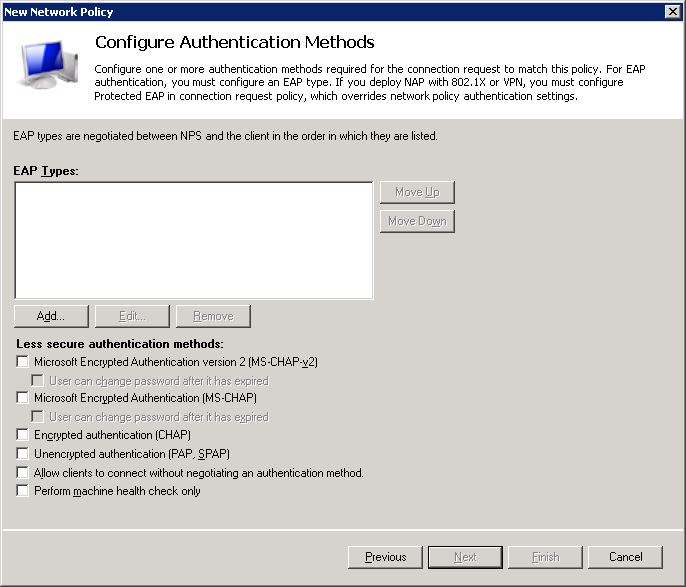
De-select all options in the following screen. We only want to allow PEAP and/or EAP-TLS.
Wireless Policy – PEAP Authentication
First we will add PEAP authentication to our wireless policy. Click on Add.
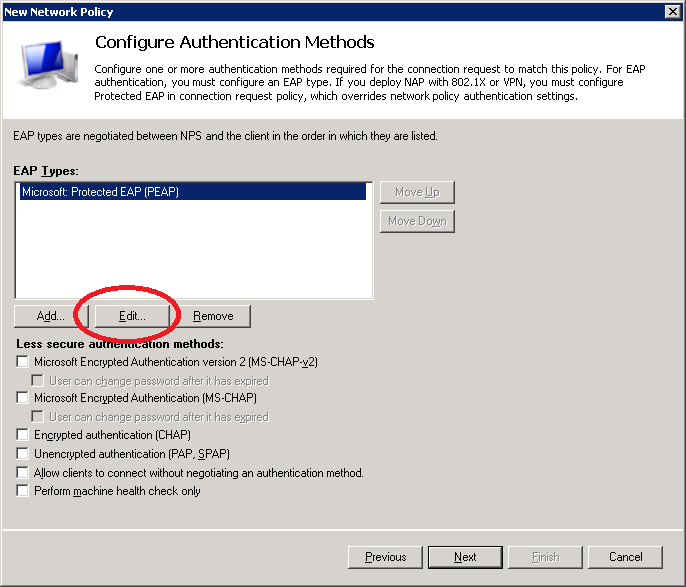
Here you can select the authentication types that you want. I’ll start with PEAP. Click on Microsoft: Protected EAP (PEAP) and click on OK.
You will see it in the overview. Select Microsoft: Protected EAP (PEAP) and click on Edit.
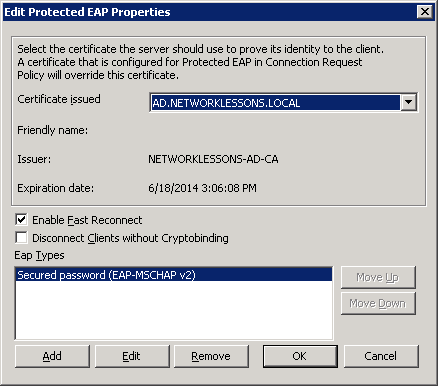
Make sure you have selected the correct certificate. This is the computer certificate that will be presented to wireless users when they connect using PEAP. It allows our wireless clients to confirm the identity of the RADIUS server.
Click OK to continue.
Wireless Policy – EAP-TLS Authentication
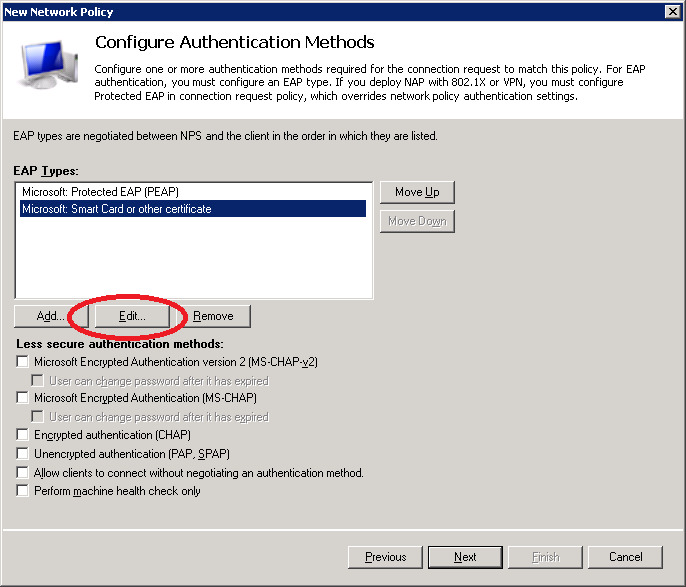
I’m also going to add support for EAP-TLS. Click Add and select Microsoft: Smart Card or other certificate.
Click OK to continue.
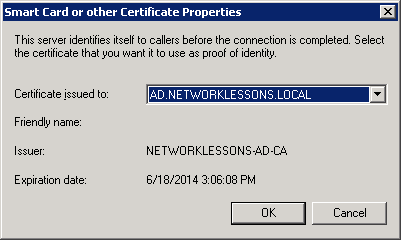
Select Microsoft: Smart Card or other certificate and click on Edit.
Make sure the correct computer certificate has been selected and click on OK.
You will now see both EAP types in the list.
Click Next to continue.
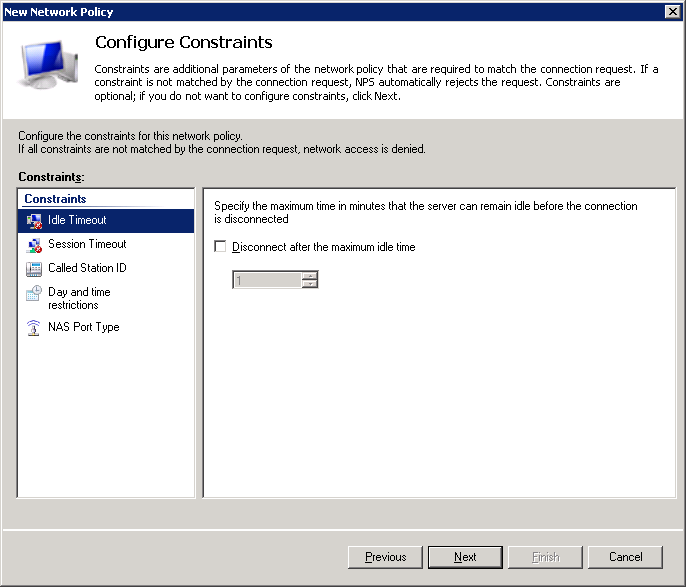
You will see an option to configure constraints, you can use these if you want to restrict access to the wireless network…for example you can set a day and time restriction. If you want to do this, it’s best to leave it alone for now and first make sure that everything is working.
Click Next to continue.
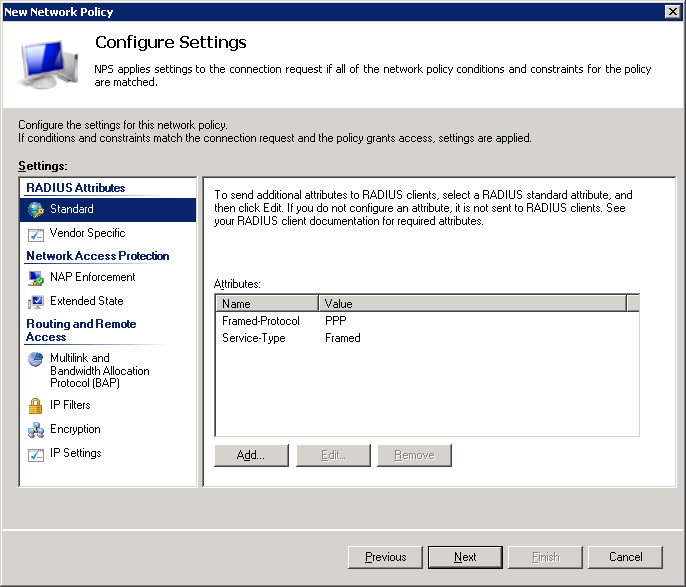
Click Next to continue.
And click on Finish to complete the configuration of our wireless policy.
NPS is running and we have successfully created a policy for wireless users.
Add Wireless User to Active Directory
The wireless policy that we created in NPS allows all users in the “domain users” group to access the wireless network but we still have to create a user account.
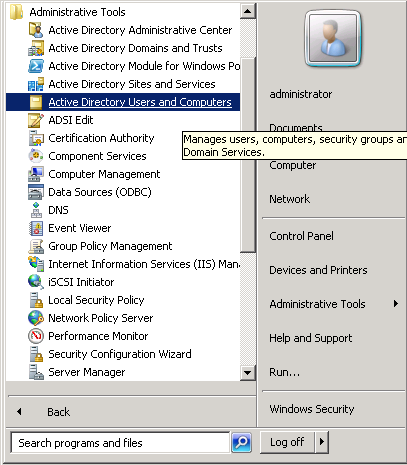
Click on Start > Administrative Tools > Active Directory Users and Computers.
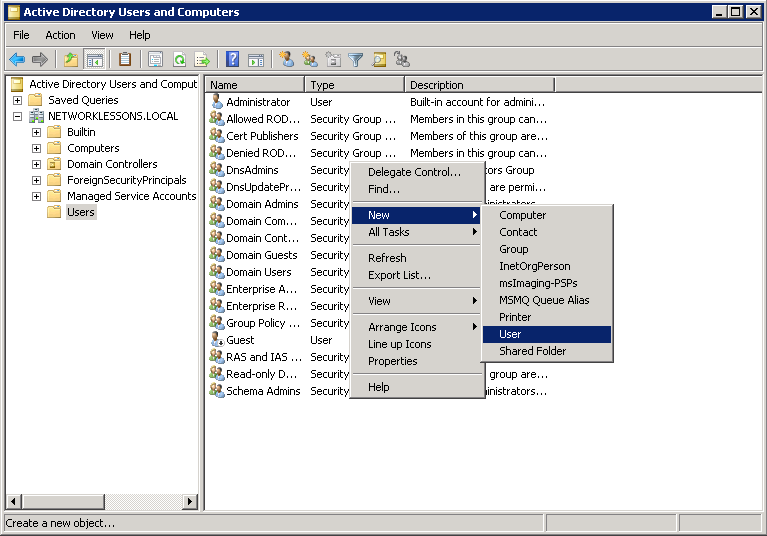
Select Active Directory Users and Computers > NETWORKLESSONS.LOCAL > Users and do a right mouse click on the white space on the right side. Select New > User.
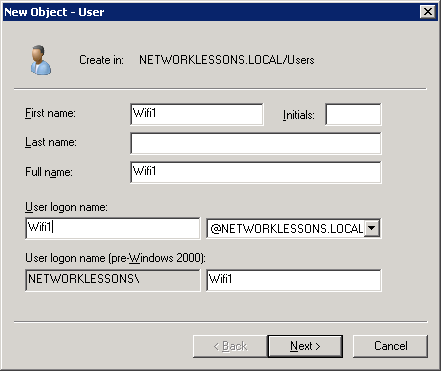
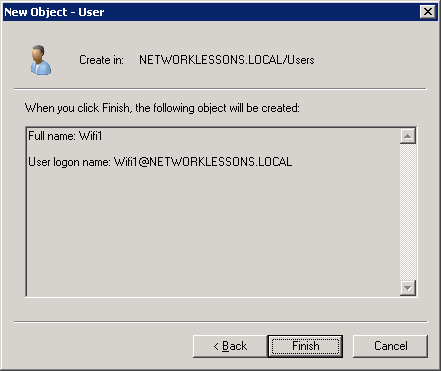
You will have to enter some details for the new user account. I’ll call my user “Wifi1″. Click on Next to continue.
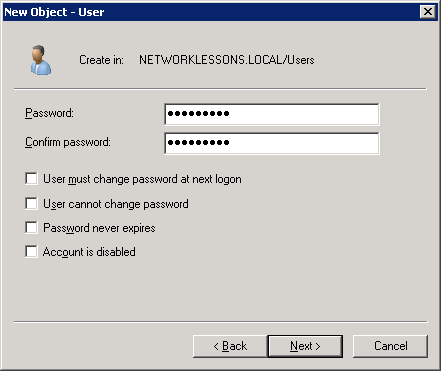
Enter a password and make sure the “User must change password at next logon” field is unchecked. Click Next to continue.
Click on Finish to create the new user account.
So far so good…Active Directory is up and running with a user account, our server is a root CA and has a computer certificate and we configured NPS for wireless users. Now we’ll have to configure the Cisco Wireless LAN controller to use the RADIUS server for authentication.
Configure Cisco Wireless LAN Controller to use Radius Authentication
Configuring a RADIUS server on the Cisco WLC isn’t difficult. First we’ll have to configure the RADIUS server and the next step is to configure a WLAN profile to use WPA(2)-enterprise mode.
Start your web browser and log into the WLC:
Add RADIUS server
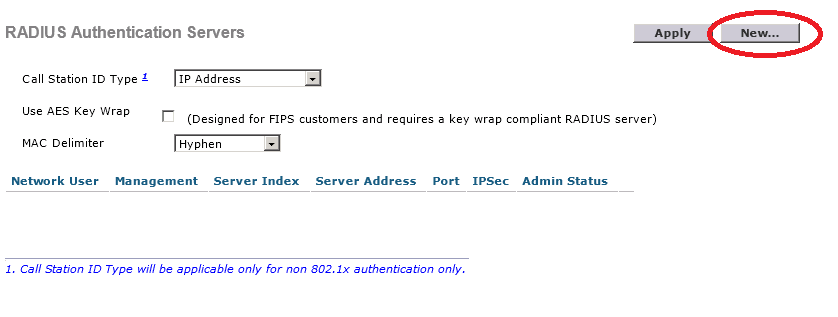
Select Security > RADIUS > Authentication.
Click on New.
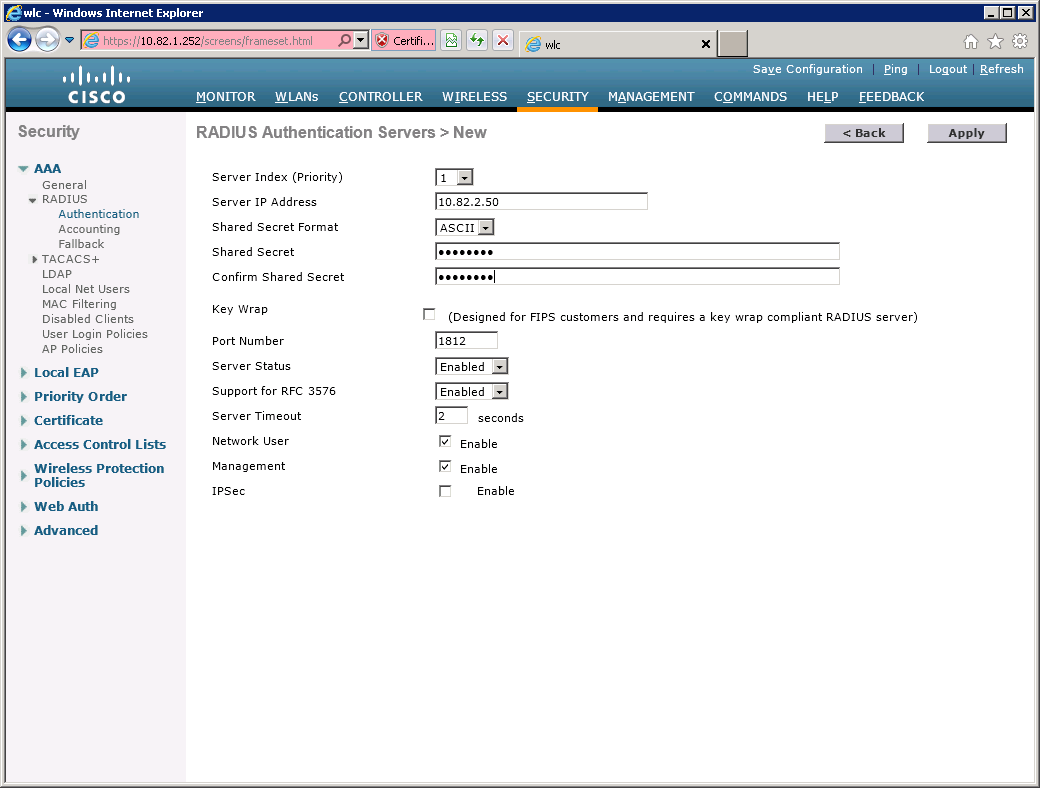
Here you need to enter the IP address and the shared secret (password) that you created when you configured the RADIUS client in NPS.
Click Apply to continue.
Create WLAN for RADIUS Authentication
Now we can create a new WLAN and configure it to use WPA-enterprise mode so it will use RADIUS for authentication.
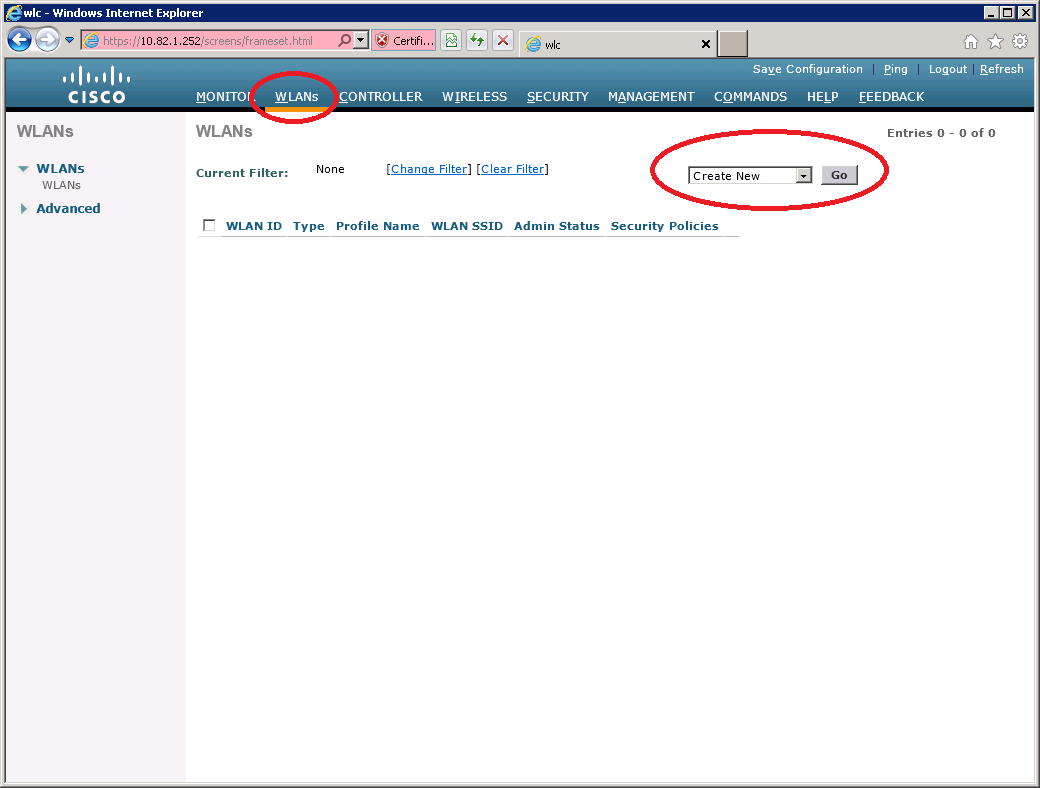
Select WLANs from the main menu, click on Create New and click on Go.
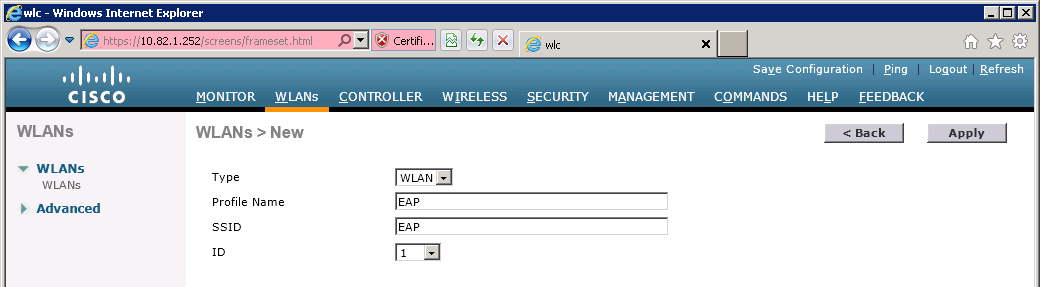
I will call the new WLAN “EAP”. Click Apply to continue.
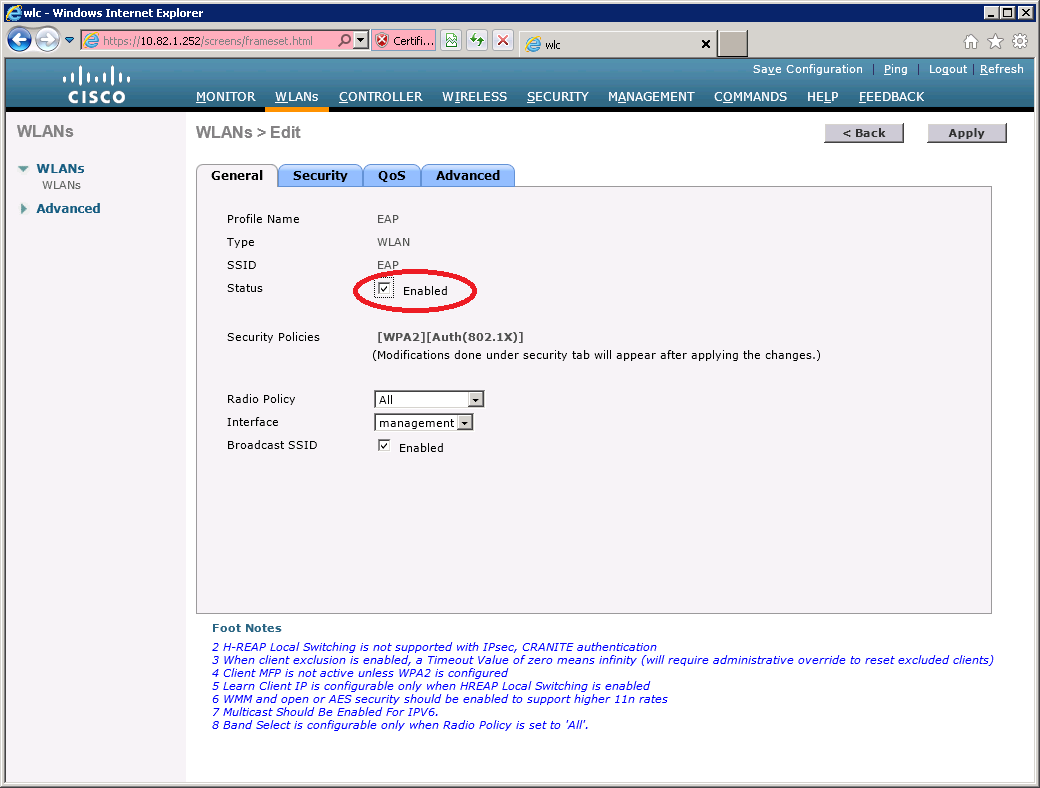
Select the General Tab and ensure Status is Enabled. The default security policy is 802.1X authentication and WPA2.
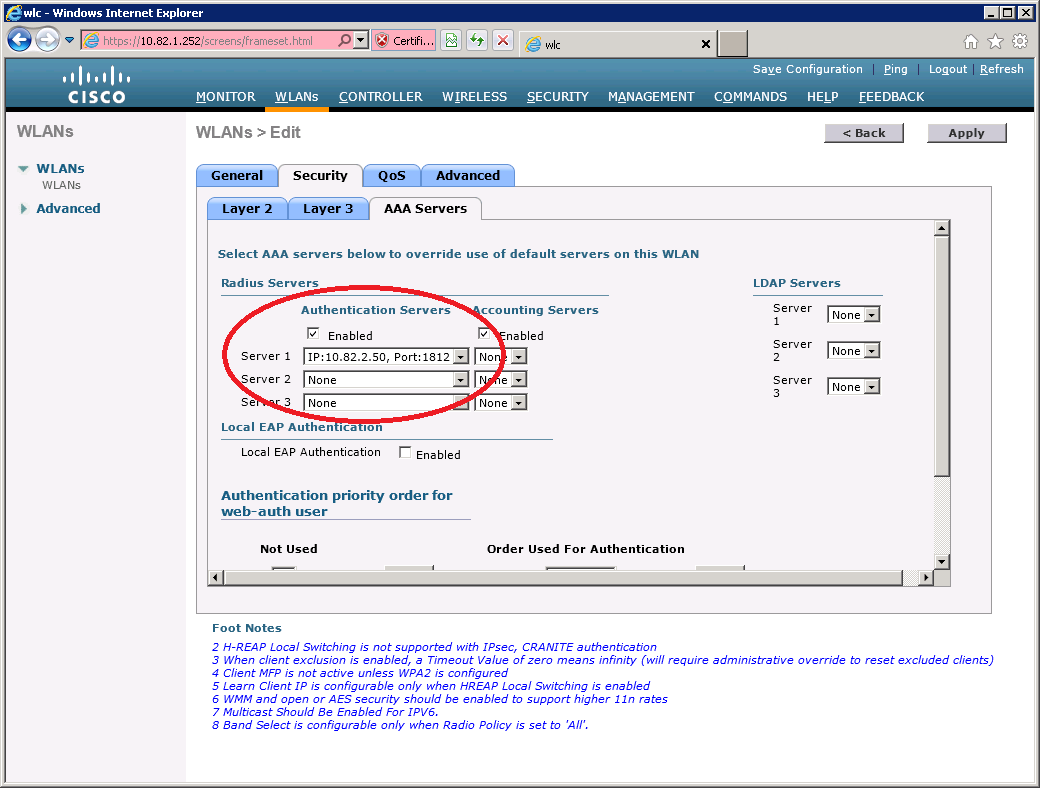
Now select the Security > AAA Servers tab and select the RADIUS server that you just configured.
That’s all you have to configure on the Wireless LAN Controller. It’s a good idea to verify that you can reach the RADIUS server from the WLC before you continue. RADIUS uses UDP port 1812 so make sure you don’t have any access-lists or firewalls blocking your traffic between the server and WLC.
Configure Wireless Client (Windows 7)
This is where the real fun starts…it’s time to configure a wireless client to connect to our wireless network. I will be using Windows 7 to demonstrate how to connect using PEAP and EAP-TLS.
If your Windows 7 computer is in workgroup mode (the default) then you will have to import the root CA from the windows 2008 server yourself otherwise you will get an error that the client doesn’t recognize the root CA. This is normal because we created a new root CA and generated a new certificate. When your computer has joined the domain then you can skip this step because it will automatically receive the root CA from the domain controller.
Let me show you how to import the root CA on your Windows 7 computer, if you joined the domain then you can skip this step…
Export root CA from Server
First we will have to export the root CA from the server. Normally you can find it in a shared folder on the server. Connect your client using a network cable and open the shared folder on the server:
\\10.82.2.50\CertEnroll
If you don’t have a network cable or you can’t access the shared folder then it’s also possible to export the root CA from the server ourselves. Go to the server and open MMC:
Click on Start > type “MMC” (without the quotes) and hit enter.
 Select File > Add/Remove Snap-In.
Select Certificates from the available snap-ins and click on Add.
Select Computer account and click on Next.
When you see Certificates (Local Computer) on the right side you can click on OK.
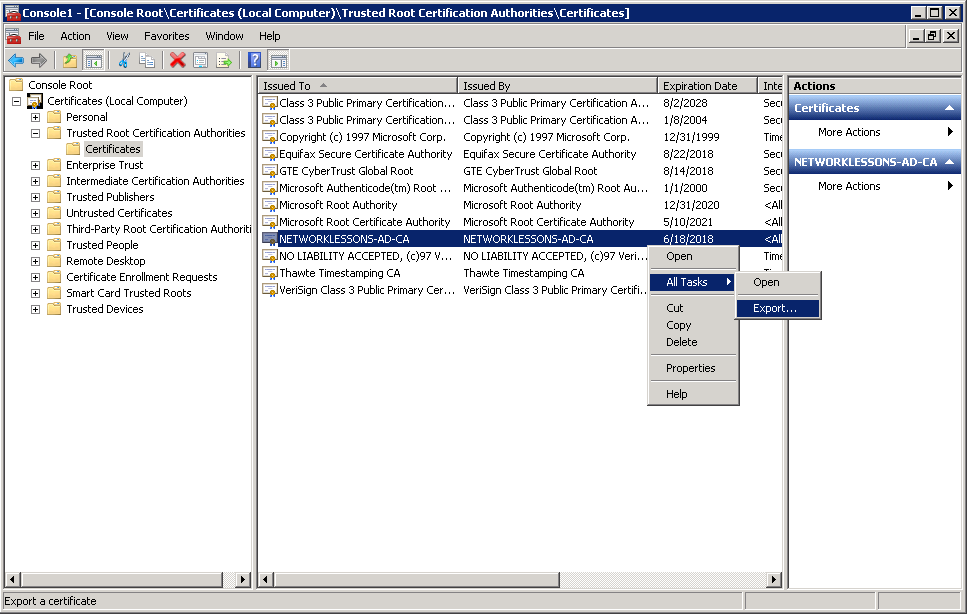
Select Certificates (Local Computer) > Trusted Root Certification Authorities > Certificates. On the right side you will your root CA. Select it, do a right mouse click and select All Tasks > Export.
You will see the Certificate Export Wizard. Click Next to continue.
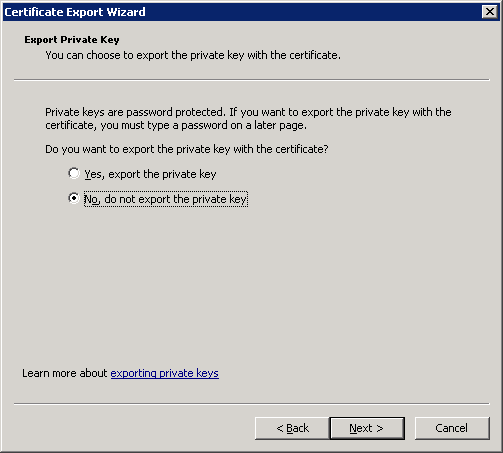
Don’t export the private key. Click Next to continue.
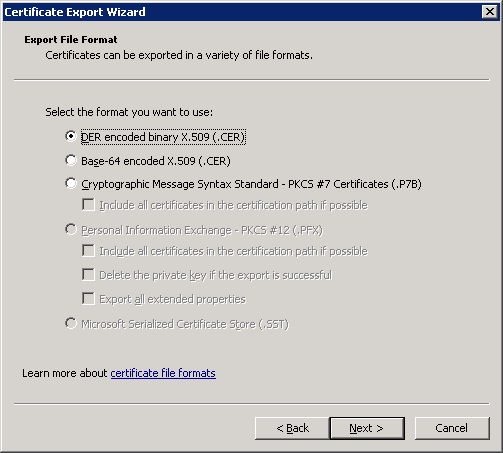
Select the DER encoded binary X.509 (CER) file format and click Next.
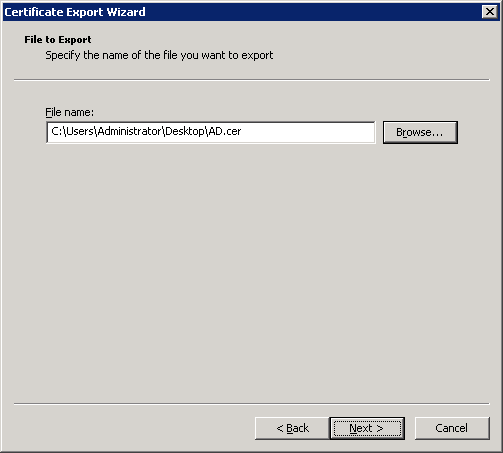
Choose a folder and filename and select Next.
And click on Finish to complete the export.
Copy the certificate that you just exported to a USB stick or something and move it to your Windows 7 computer.
Import Root CA to Windows 7
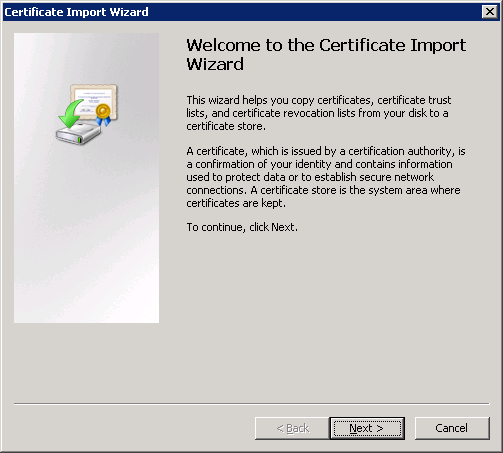
Double click on the certificate file that you just exported on your Windows 7 computer and you will see the following screen. Click on Install Certificate.
Click Next to continue.
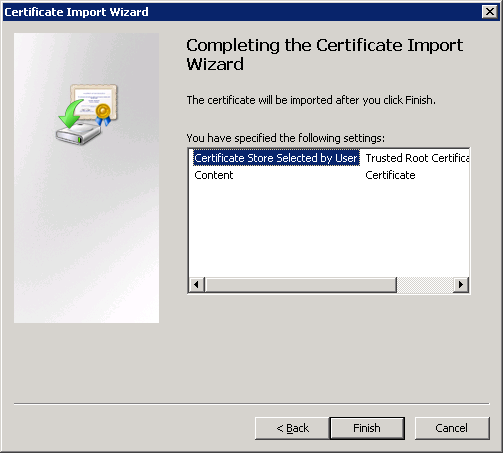
Make sure the Trusted Root Certification Authorities store has been selected. If not click on the Browse button and select it. Click Next to continue.
Click Finish to complete the certificate import wizard.
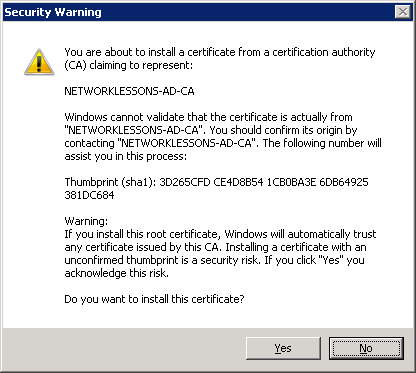
You might get a security warning that you are about to trust a new root certificate. Click Yes to continue.
We are almost done, we also have to add this certificate in the Windows registry or your computer will still not trust the root CA. If you want to know the exact reason you can look at KB 2518158 on the Microsoft Website.
Click on Start > type “cmd” (without the quotes) and hit CTRL+SHIFT+ENTER. This will open a command prompt with administrative rights.
C:\Users\vmware\Desktop>certutil -f -enterprise -addstore NTAuth AD.crt
NTAuth
Signature matches Public Key
Certificate "CN=NETWORKLESSONS-AD-CA, DC=NETWORKLESSONS, DC=LOCAL" added to store.
CertUtil: -addstore command completed successfully.
Your computer now trusts the root CA. We can now connect to the wireless network.
Configure Wireless Profile for PEAP
We’ll create a new profile to connect using PEAP.
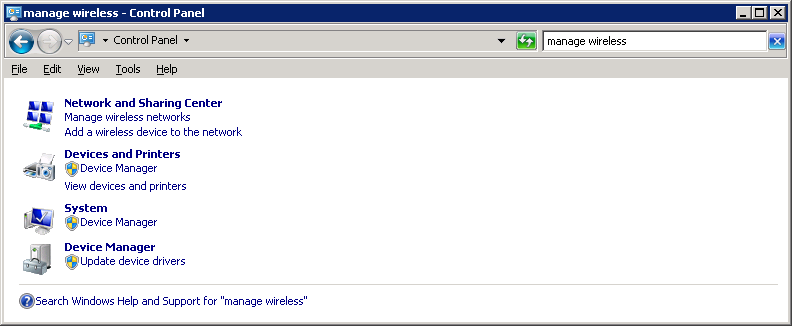
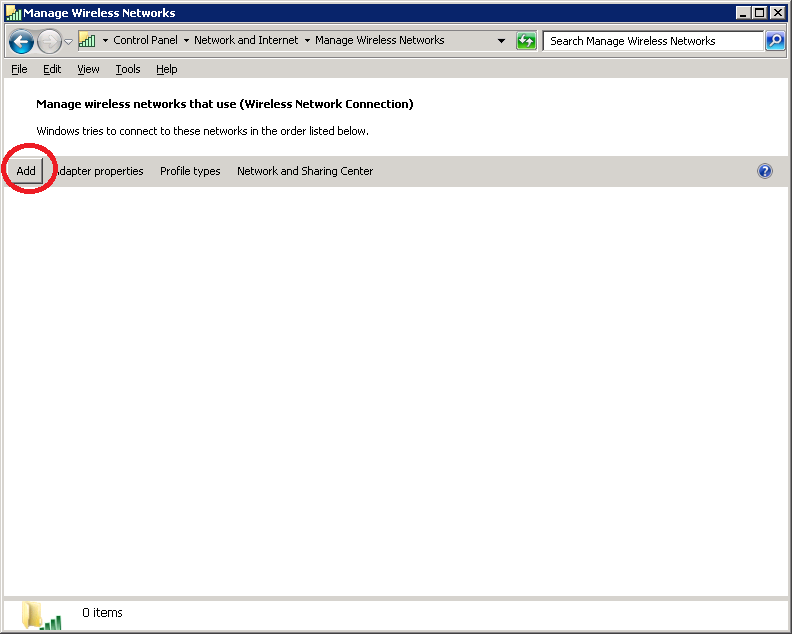
Open Control Panel and select Manage wireless networks.
Click on Add.
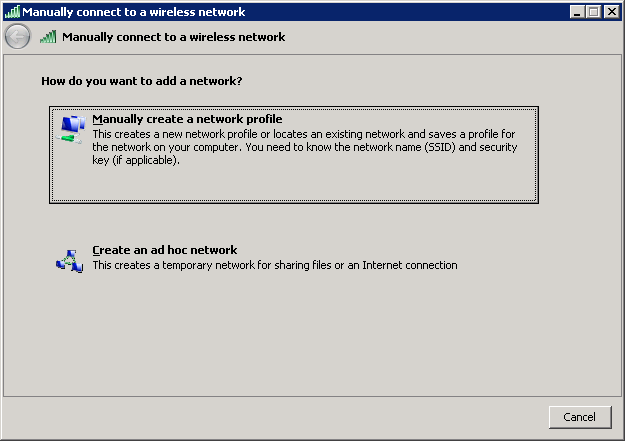
Select “Manually create a network profile“.
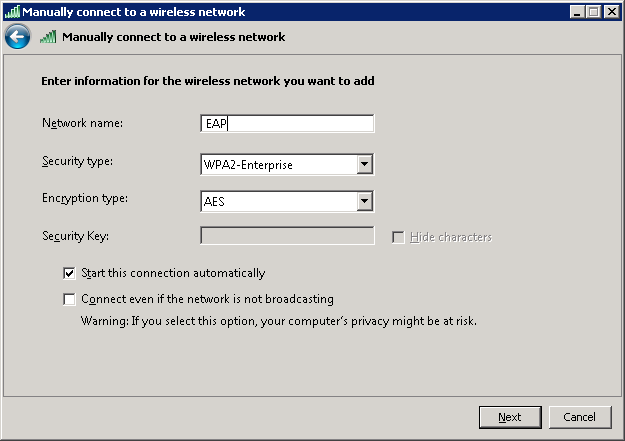
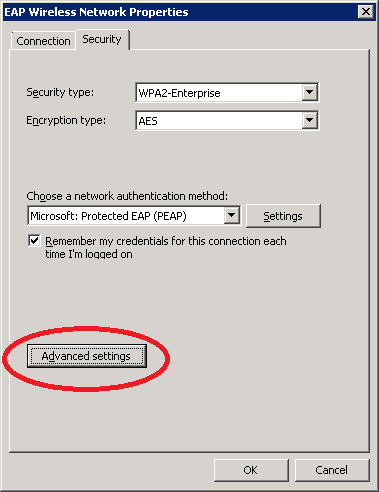
Enter the network name, select WPA-Enterprise or WPA2-Enterprise and click on Next.
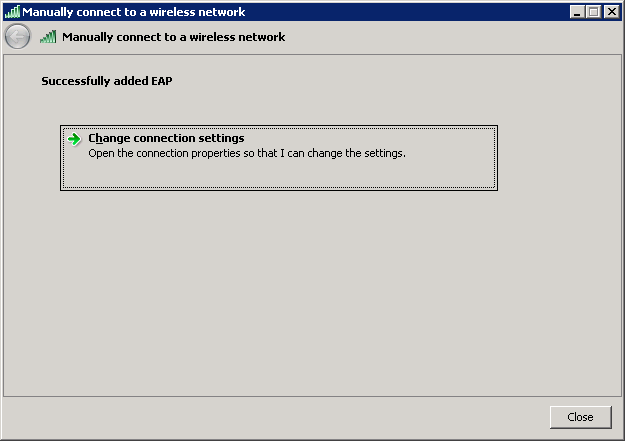
Select Change connection settings.
Select the Security tab , choose Microsoft: Protected EAP (PEAP) and click on Settings.
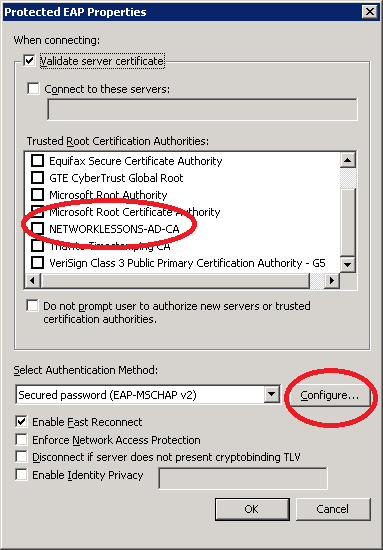
Select Validate server certificate. You should see the root CA that we imported here but you don’t have to select it. Your computer will trust all root CAs in this list by default when you connect to a wireless network.
Make sure the authentication method is Secured password (EAP-MSCHAP v2) and press the configure button.
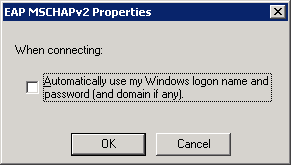
Uncheck the button that wants to automatically use the windows username/password for authentication. Click OK to continue.
Click OK until you return at the EAP Wireless Network Properties and select Advanced Settings.
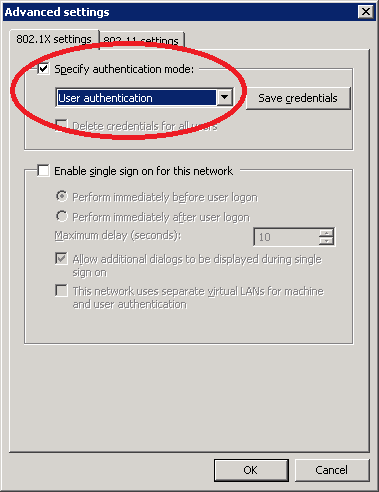
Select specify authentication mode and choose for user authentication. Click OK to continue.
Keep clicking on OK until you are out of the wireless profile configuration, you are now ready to connect to the wireless network using PEAP. Look for the wireless icon in the taskbar, select the wireless network and click on Connect.

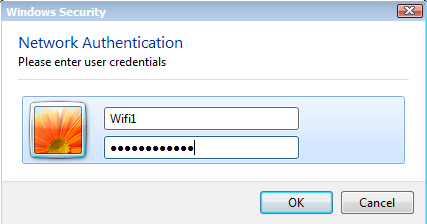
You will see a pop-up that asks for your credentials. Enter the username and password that you configured in Active Directory and click on OK.
And you will see that you are now connected:
Congratulations! You just authenticated a user through PEAP. In the next part I’ll show you how to authenticate the user by using EAP-TLS and a client certificate.
Configure Wireless Profile for EAP-TLS
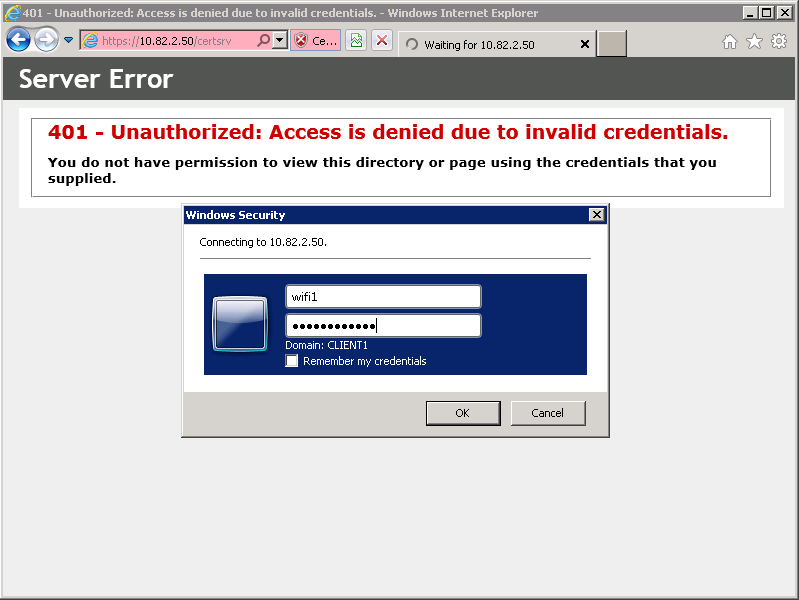
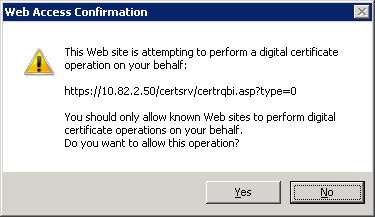
To authenticate a wireless user through EAP-TLS instead of PEAP we will have to generate a client certificate. Connect your Windows 7 computer to the network so that you can access the server, open a web browser and enter the following address:
https://<ip-of-server>/certsrv
You will see a pop-up that asks for credentials. Enter the username and password of the wireless user that requires a client certificate and click on OK.
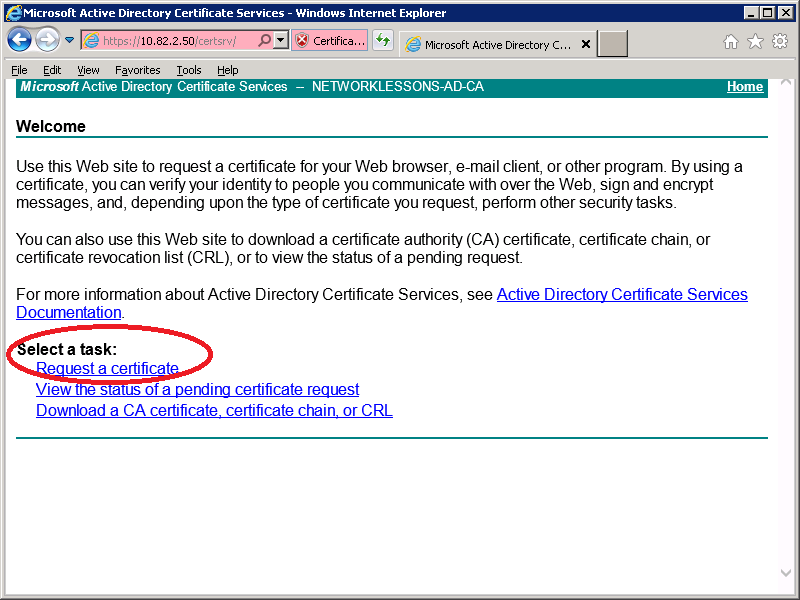
Select Request a Certificate.
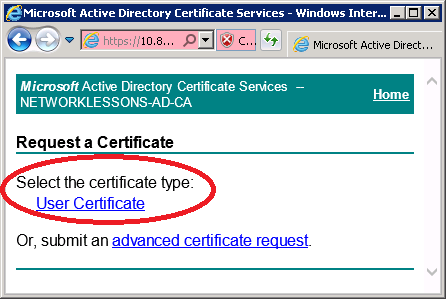
If you are using Internet Explorer 10 you might receive a warning that says “This Web browser does not support the generation of certificate requests.” . You need to enable IE10 compatibility mode to solve this problem.
Select User Certificate.
Select Yes.
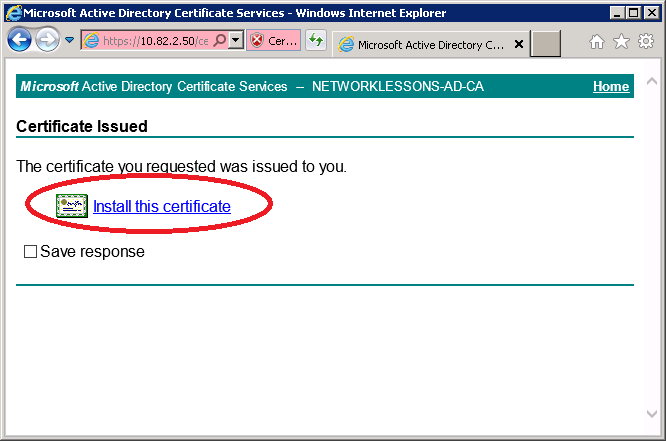
And click on Install this certificate.
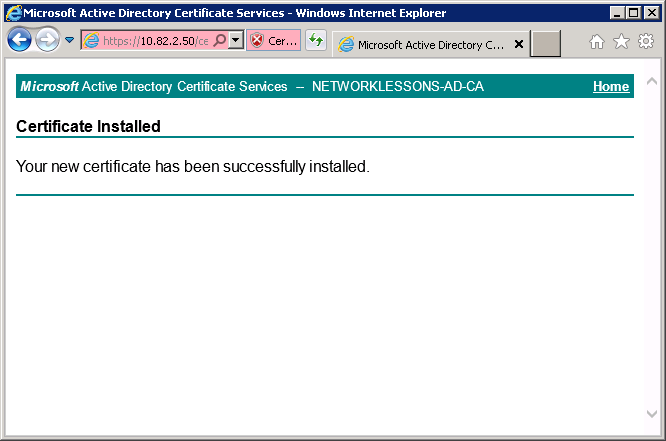
You will see a notification that the certificate has been installed.
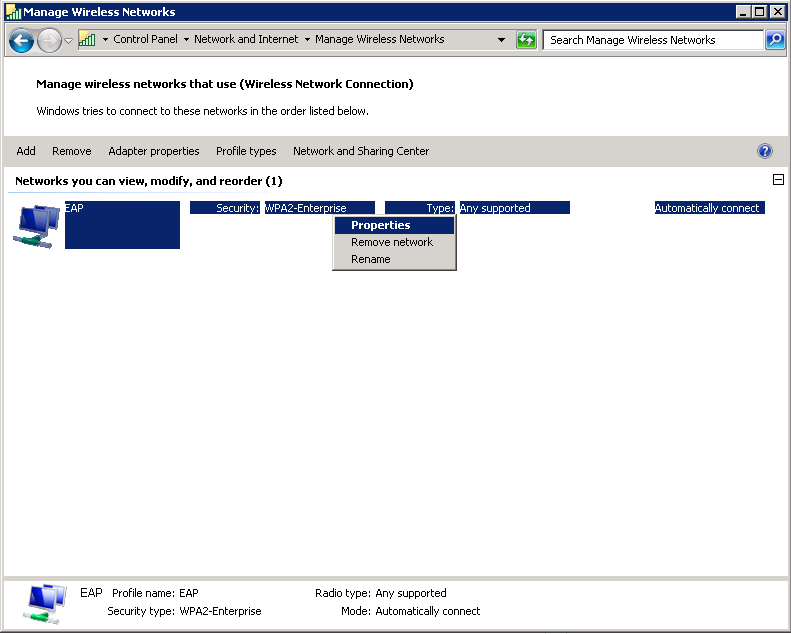
Now we can change the wireless profile that we created earlier for PEAP to use EAP-TLS instead. Do a right mouse click on the EAP wireless profile and select Properties.
Select Microsoft: Smart Card or other certificate and click on OK.
Now try to connect again to the wireless network, select the correct profile and click on Connect.
And you will be connected to the wireless network!
Congratulations…you just connected using EAP-TLS!
Troubleshooting
If everything went OK then you now have a working wireless network that offers PEAP and EAP-TLS authentication. There are many components in this tutorial so troubleshooting might be difficult sometimes. Your best friend is the Windows event viewer on the server as it will give you all errors. It’s best to look for the security event log and to check for the network policy server notifications. These will give you a lot of information when you are unable to authenticate your wireless users. If you run into any issues, let me know and I’ll add the troubleshooting steps here.
Conclusion
I hope this tutorial has been helpful to you to install a Windows Server 2008 machine to act as the RADIUS server for your (Cisco) wireless network that offers EAP-TLS and/or PEAP authentication. If you have any additions or questions feel free to leave a comment and I’ll do my best to answer them. If you enjoyed this tutorial. please share it!
Read more: http://networklessons.com/wireless/peap-and-eap-tls-on-server-2008-and-cisco-wlc/#ixzz3Jh1whPGi